Nail length and steadiness of hand decide which set is yours: short nails suit dots, swirls and small hand-painted flowers, while the masquerade mask art and the diagonal color blocking with a yellow grid need longer nails and more time in the chair.
The range runs from a single thin gold line on a nude oval to raised gel dots, gems and a fleur-de-lis on black, and the finish matters just as much if the set has to last through 3 or 4 weekends of parades.
1. Gold Accent Nails
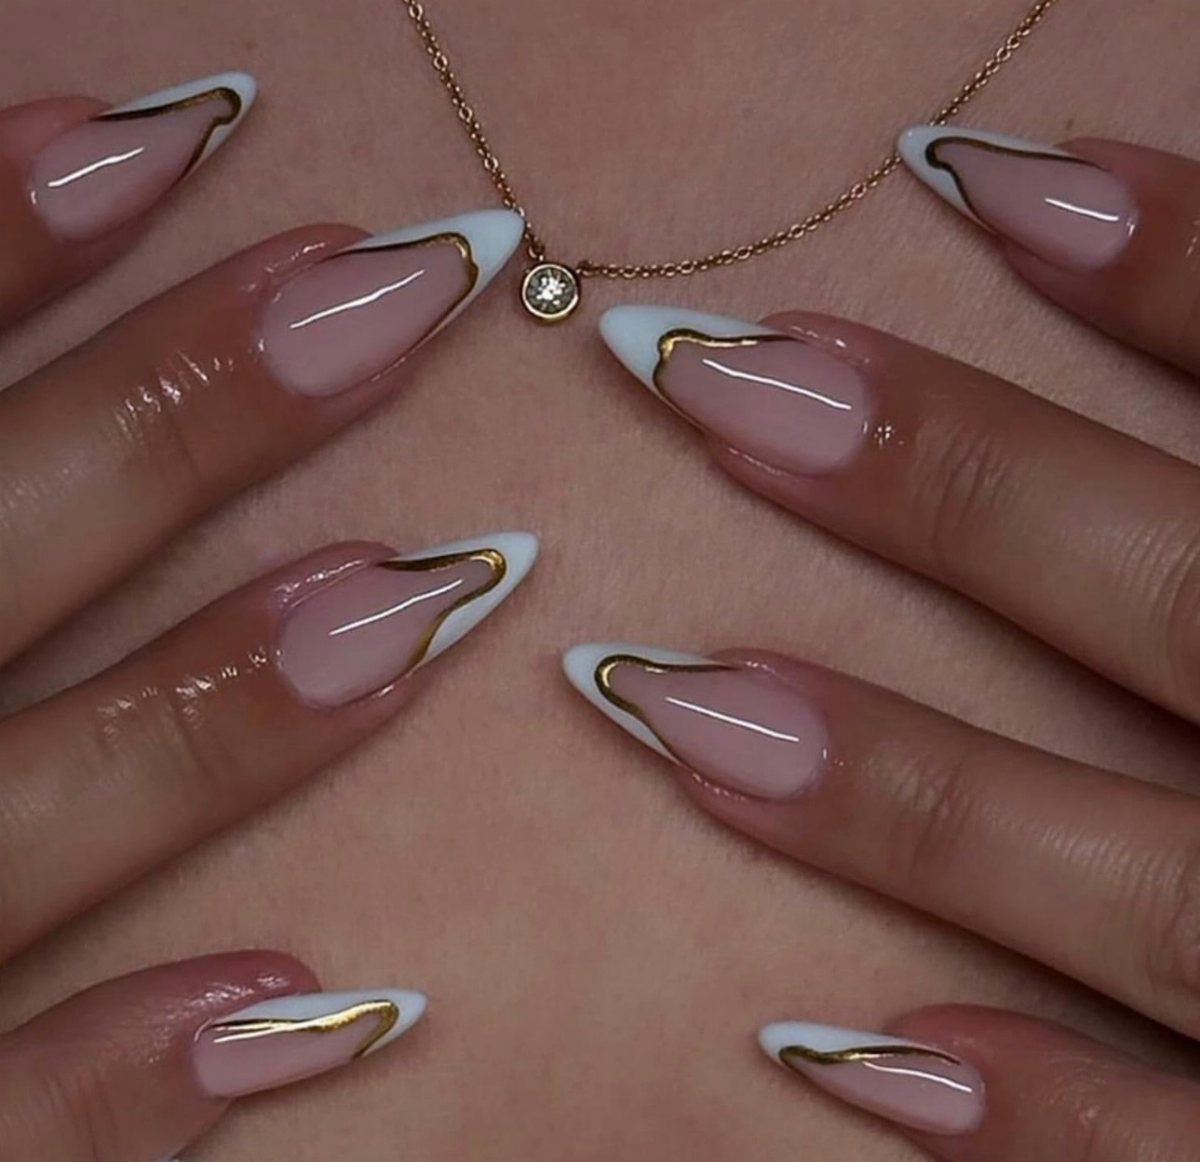
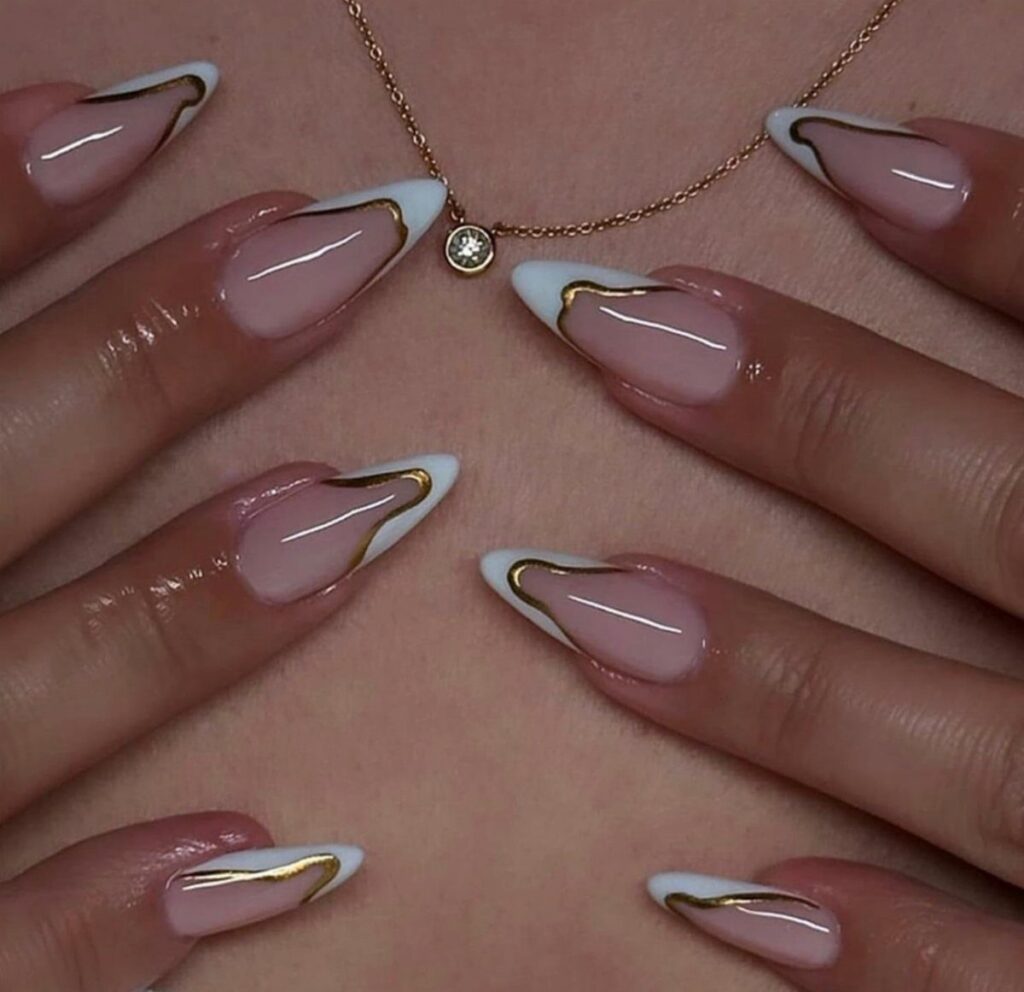
Gold swirls painted over a nude base with white tips give almond nails a metallic touch without covering the whole hand in shine.
Since the gold sits on only a few nails or one corner of each, it reads as Mardi Gras without a costume attached.
A gold gel pen or a thin striping brush draws the curls best. Keep the lines loose, because perfectly symmetrical swirls look stiff.
For a bolder version, paint one accent nail solid gold.
2. Glitter Ombré
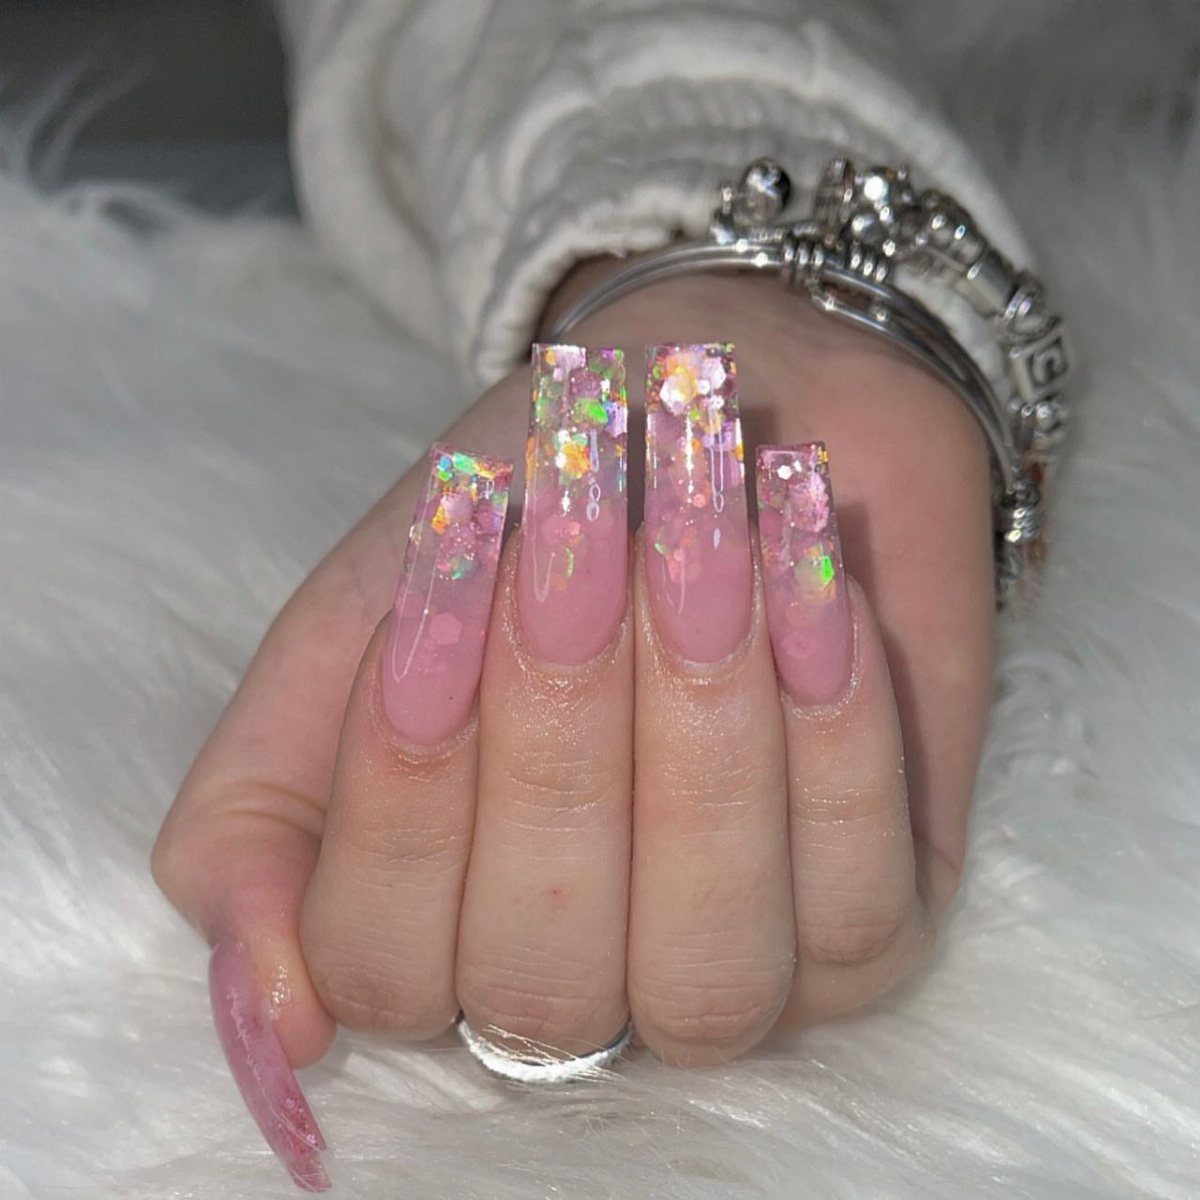
Pink fading into iridescent glitter at the tips is the version I’d pick if you want sparkle that moves with the light. Square nails give the gradient plenty of room to spread.
Dab glitter on with a sponge or a flat brush, packing it densely at the tip and thinning it toward the cuticle. Press it into tacky gel or polish rather than brushing it across.
Seal with a top coat, since loose glitter feels rough and snags on sleeves.
3. Gold French Tip
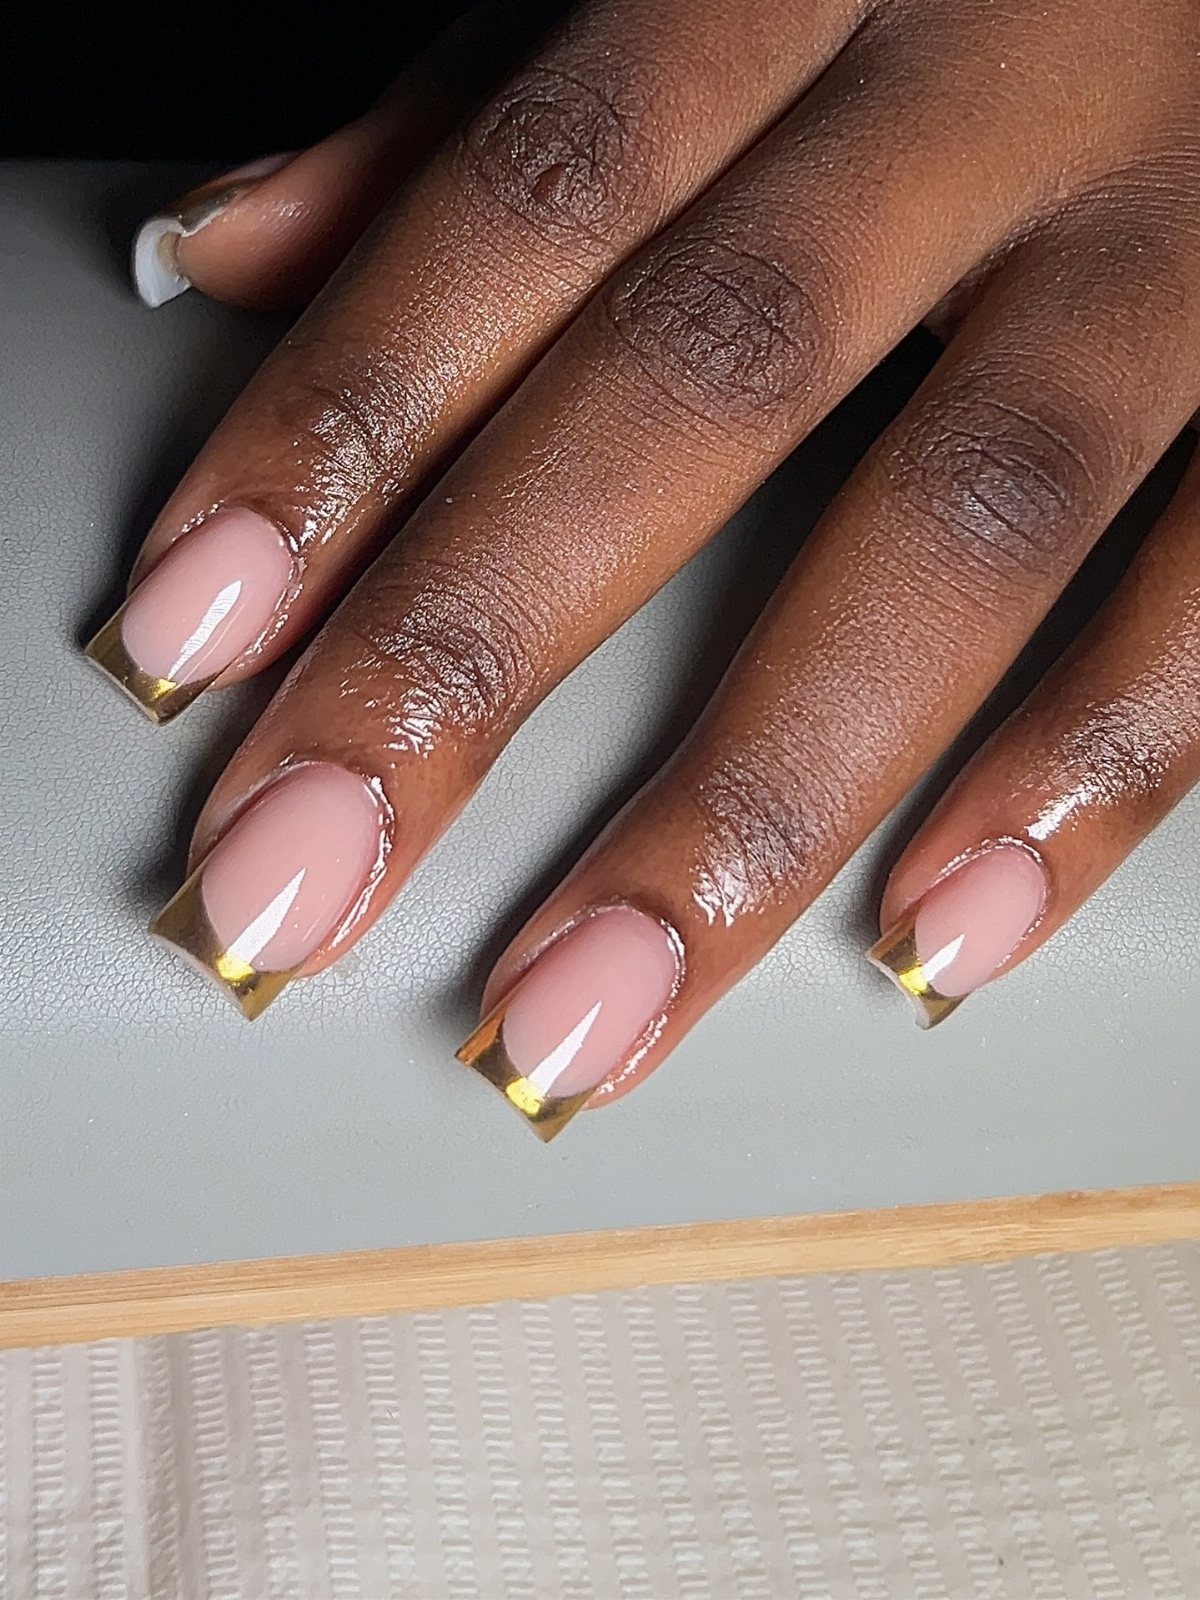
Plain nude ovals with a metallic gold tip are the quietest way to wear this theme to a parade or a dinner. One thin gold line does the work that a full set of beads and gems does elsewhere.
A tip guide sticker or a steady striping brush keeps the line even. Gold shows best against a sheer nude base, so choose a base that doesn’t compete with it.
This design suits anyone who wants Mardi Gras without a loud set.
4. Bead-inspired Dots
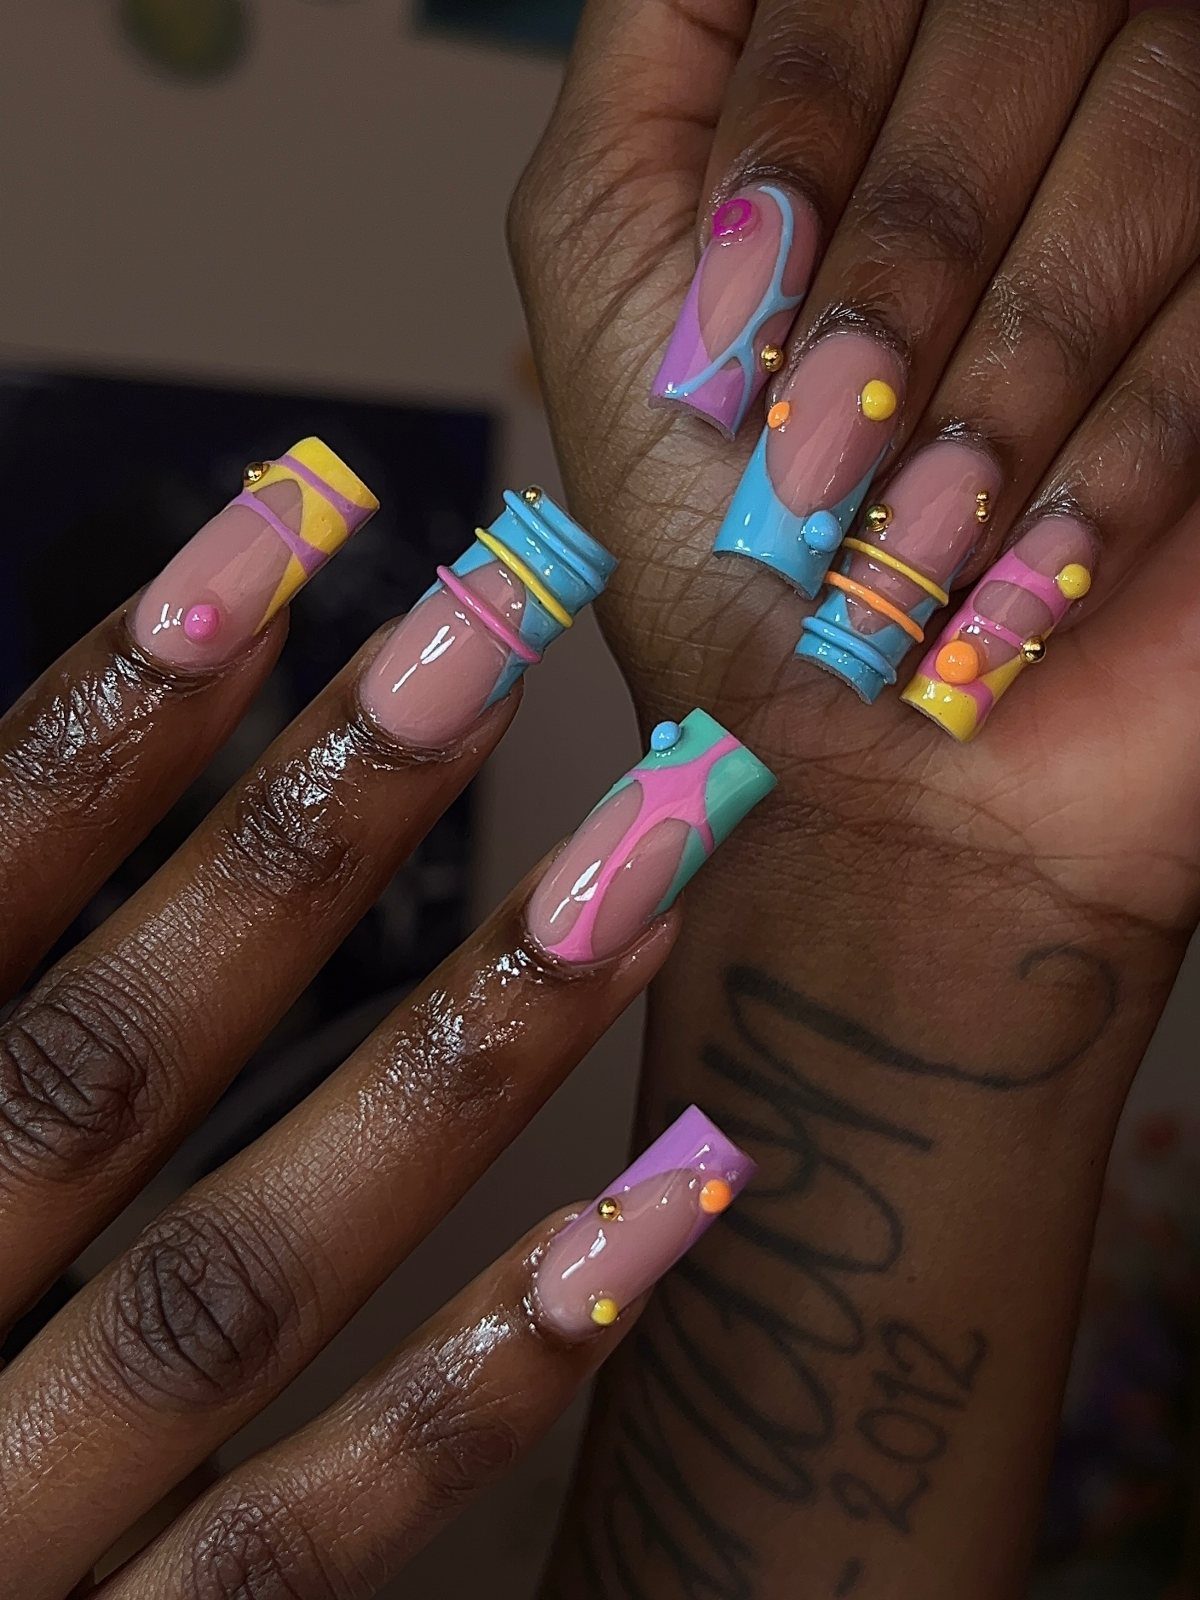
Build the raised dots with gel or builder gel in pink, blue and yellow, cure each layer, then add a few thin swirls between them so the set reads as strings of Mardi Gras beads.
Coffin shapes give the dots room, and the colors stay bright when each dot sits apart from the next.
Place gel or acrylic in small balls with a dotting tool, then cure each layer so the dot keeps its dome. Vary the sizes for a loose, tossed-bead look.
Raised dots can catch on hair and fabric, so keep the length manageable.
5. Deep Purples, Swirls, and Gemstone Accents
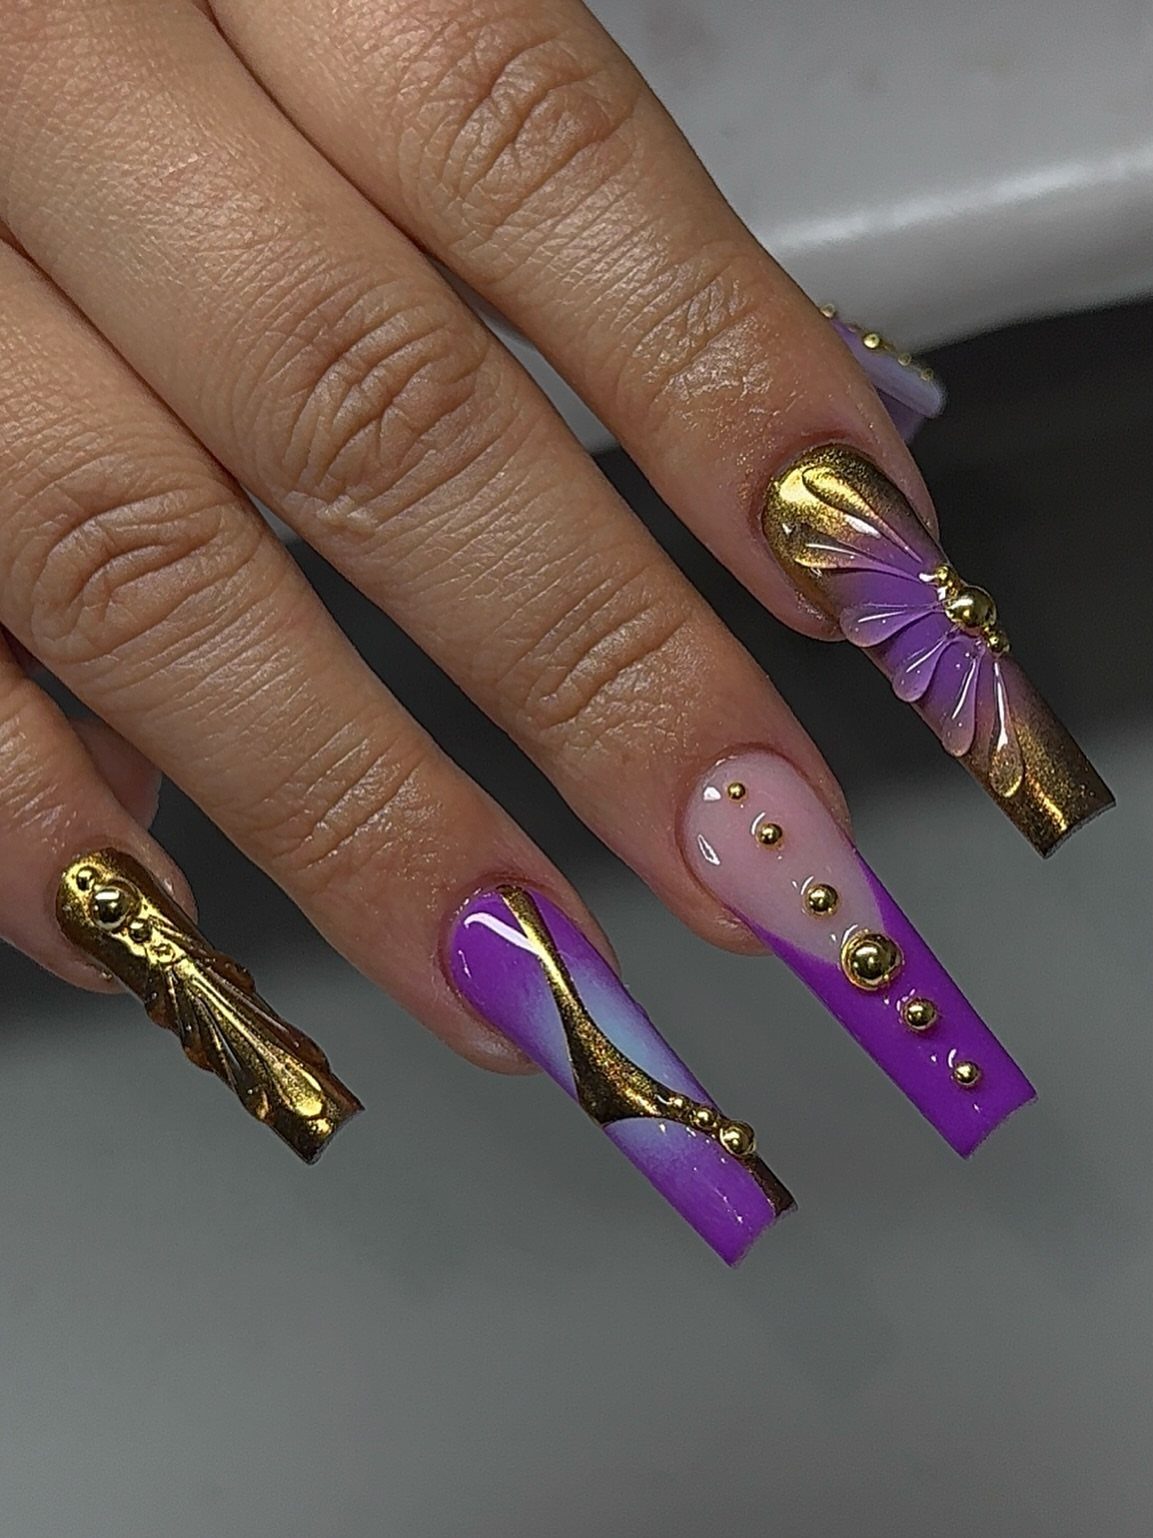
Purple blended from deep to light, with gold metallic lines and tiny gold beads pressed in, is the richest look for New Orleans nails.
The gradient does most of the work, and the gold only needs to appear in a few spots.
Blend two or three purples with a sponge, then add the gold swirls on top. Set gold beads or gems in a dab of builder gel and cure them before sealing.
Keep the gems to a few nails, or the design gets crowded.
6. Gems in Signature Mardi Gras Colors
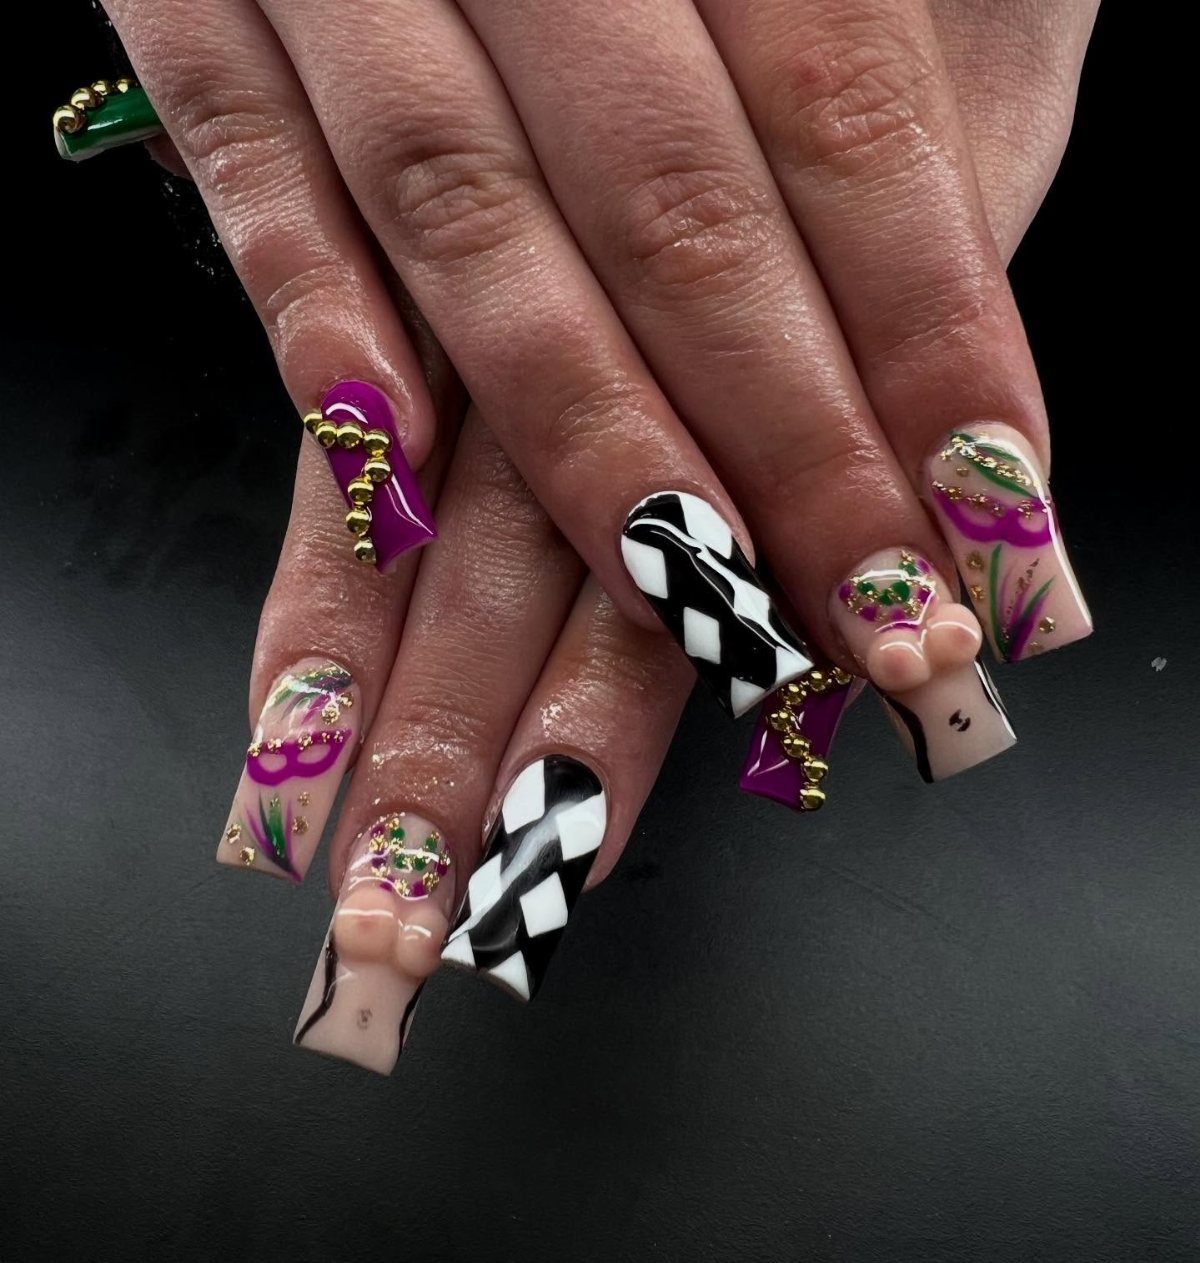
Purple, green and gold are the Mardi Gras palette, and splitting them across the nails with black and white as separators keeps each color crisp. Gems and gold beads set into the designs give the set weight.
Plan the layout first: pick which nails carry which color, then add gems last. A drop of gel under each gem, cured under the lamp, holds it better than top coat alone.
Choose flat-backed gems for nails you use daily.
7. Fleur-de-lis Accent
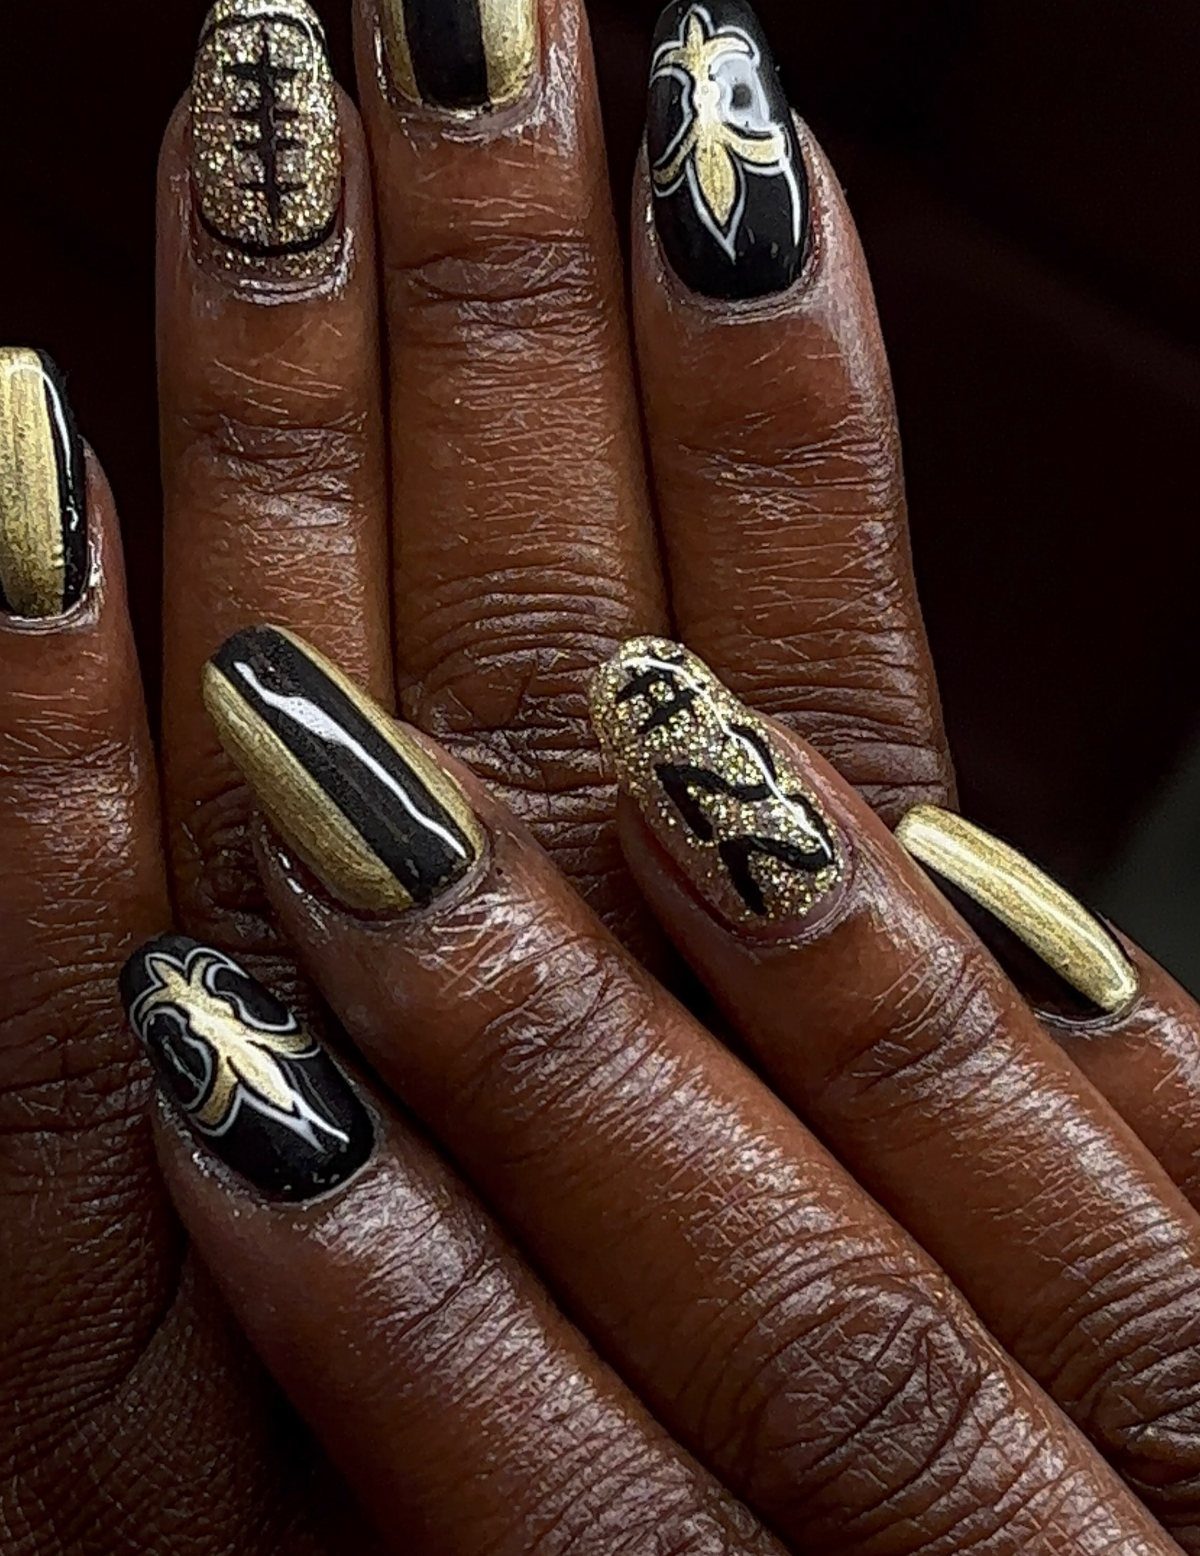
Black and gold with a fleur-de-lis is the local-symbol move, and a tiny football turns it into a game-day set. Keep the fleur-de-lis on a single accent nail so it stays readable.
Paint it in gold over a black base with a fine striping brush, or press on a small gold charm. Glitter on the football adds texture, but leave the other nails plain black.
If you want a number like the "#22" shown, write it last, in thin white or gold, over a fully cured base.
8. Swirls, Color Blocks, and Wavy Lines
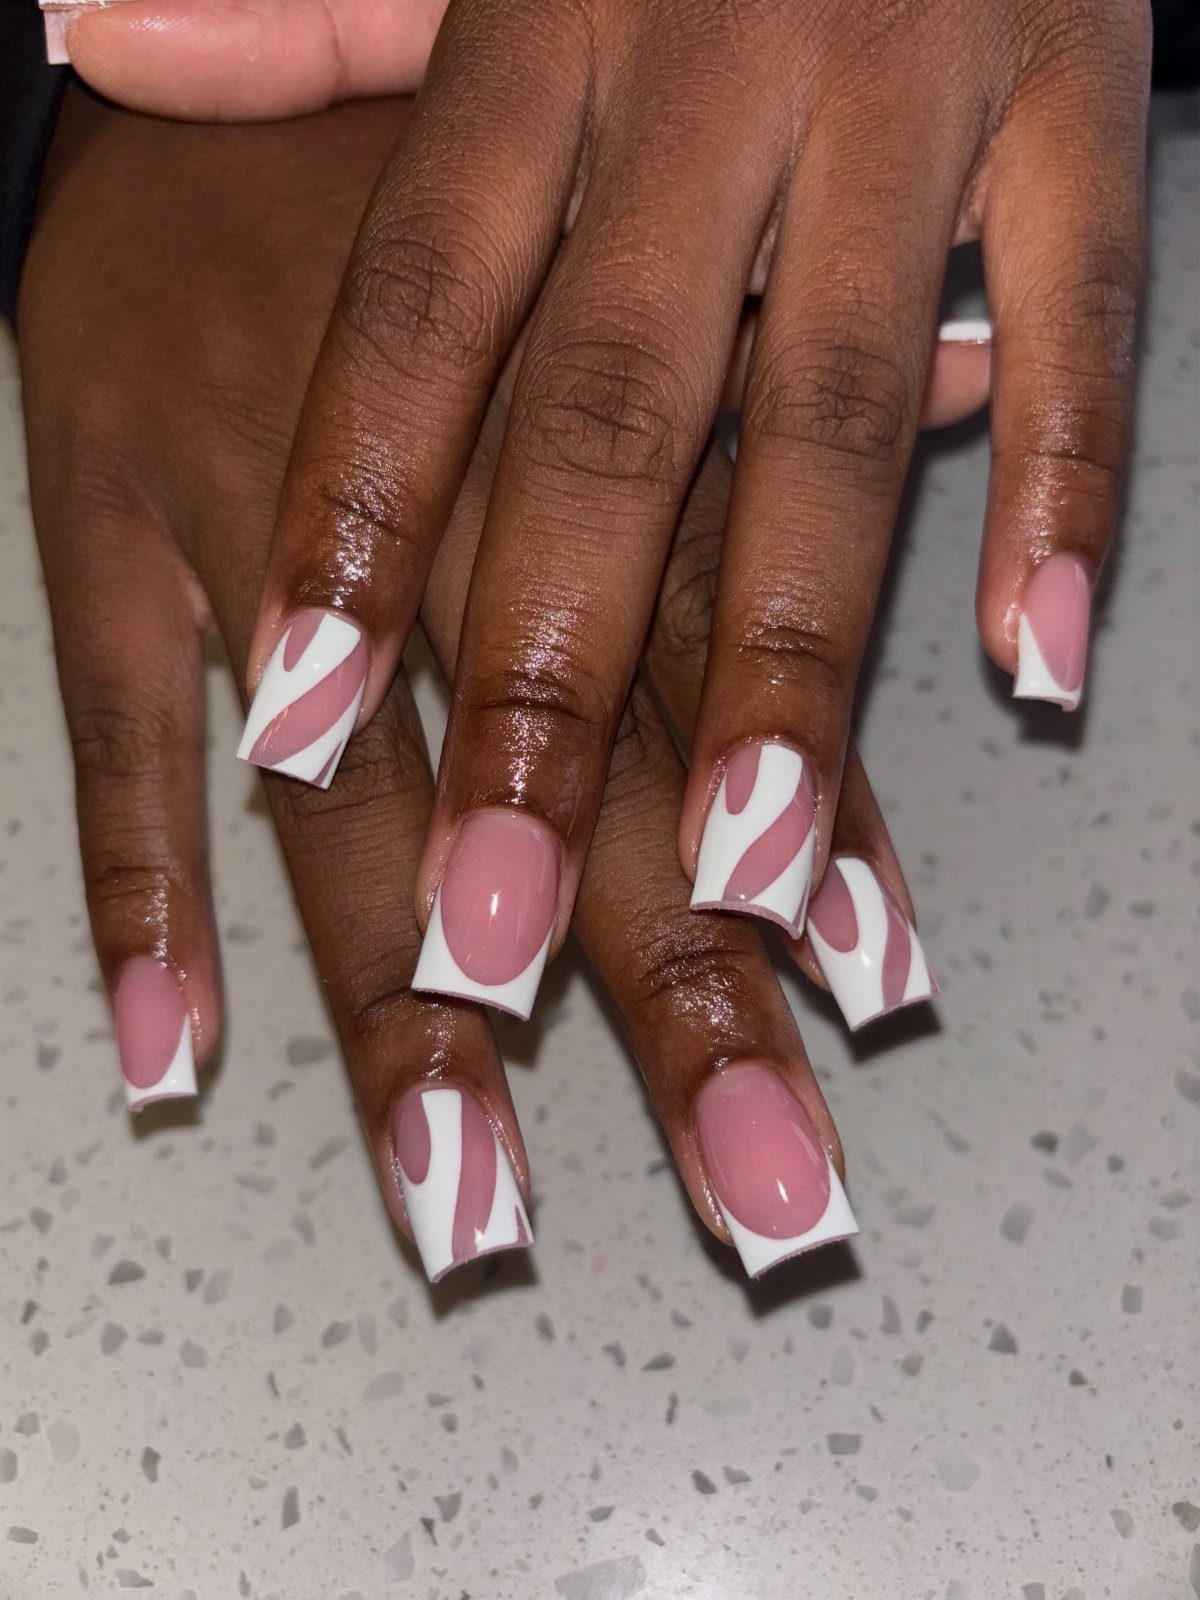
Soft pink bases, white swirls and wavy lines make the calmest set here. Square nails suit it, since the flat tips give the lines a clean place to end.
Cure the pink first, then draw the white with a thin striping brush, letting each line wander.
Wavy lines forgive small wobbles, so this is a good pick if your hand isn’t steady.
9. Small Hand-painted Flowers
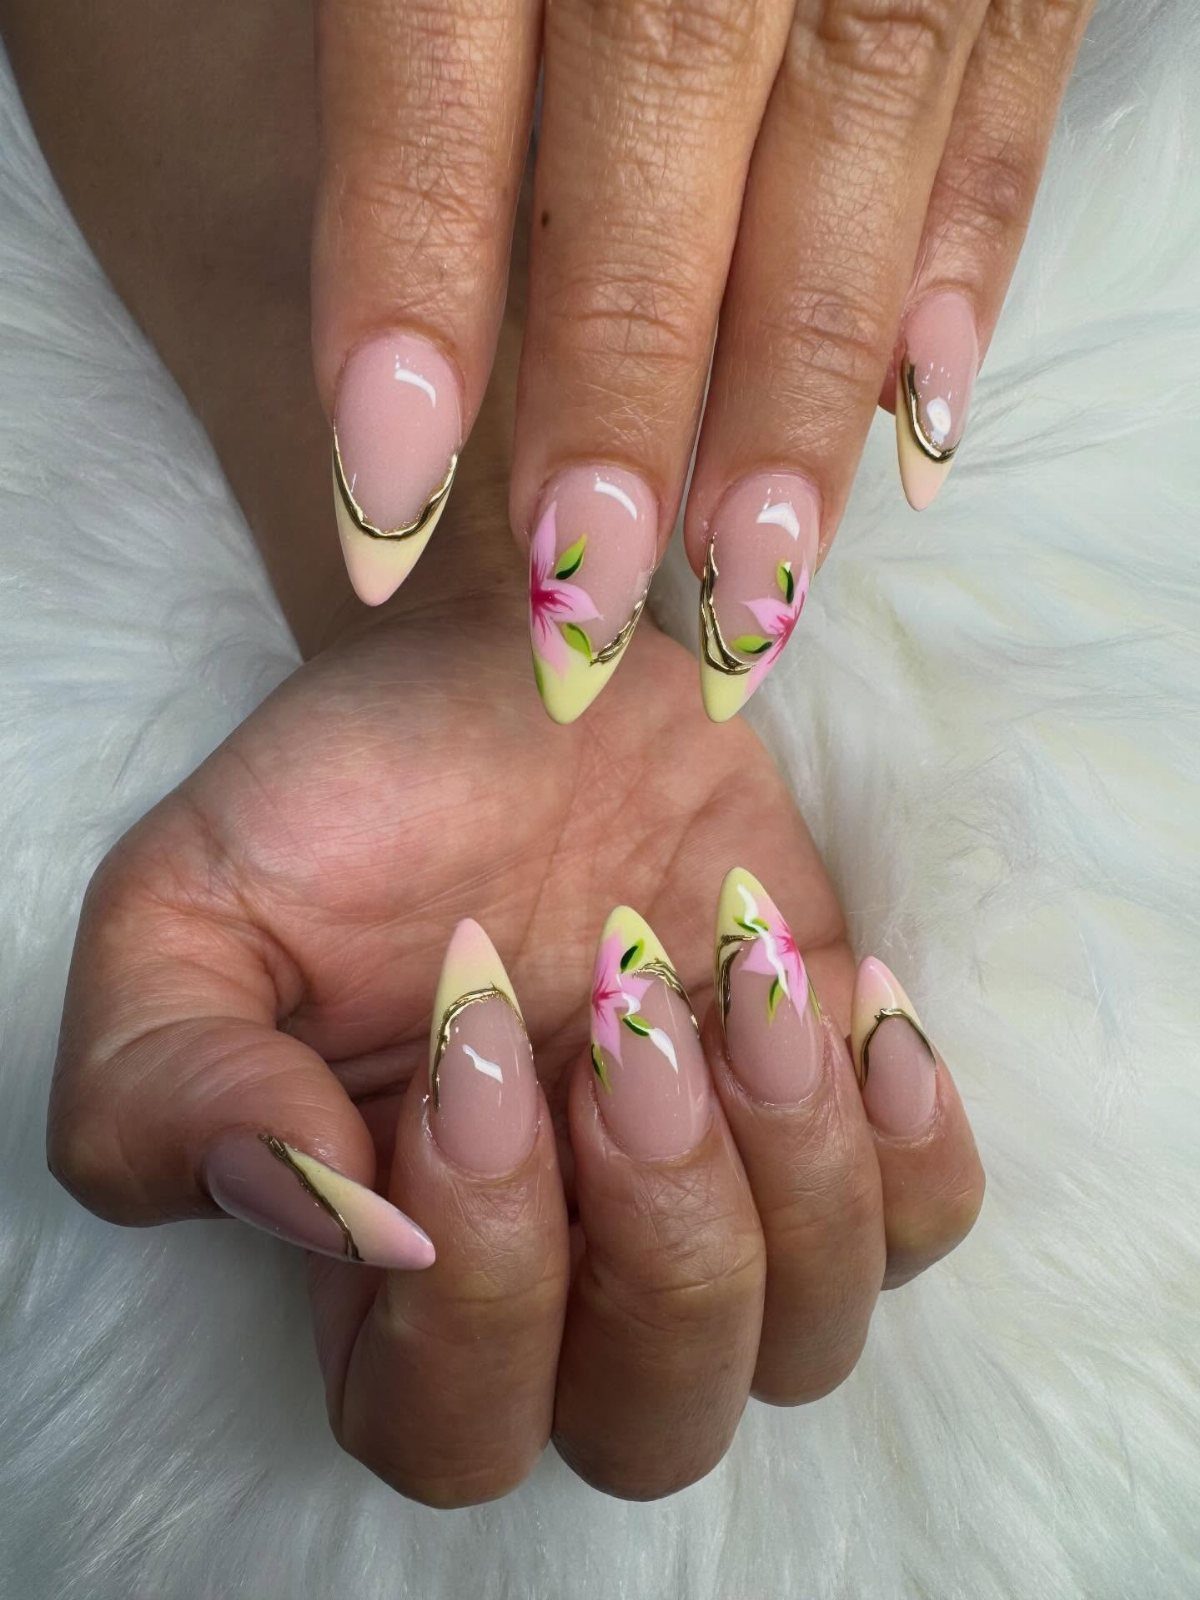
Small pink flowers painted over yellow tips, with a few gold swirls curling between them, give almond nails a softer take on the theme. Yellow and gold stay warm without turning loud.
Dot petals with a dotting tool, then add a gold center. Keep the flowers tiny and scattered, one or two per nail, and let the swirls fill the gaps.
Seal everything with a top coat once the paint is dry, so the petals don’t smear.
10. Mardi Gras Masquerade Mask Art
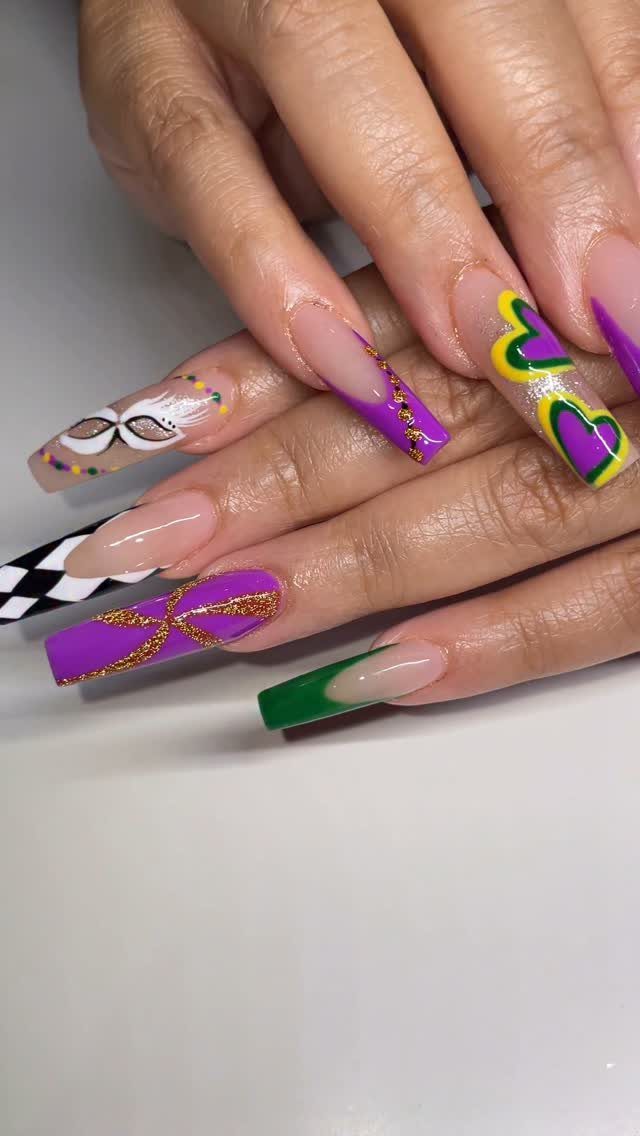
Purple, green and gold on long coffin nails give a masquerade mask plenty of room, and the flat tip lets the shape sit wide.
I’d put the mask on one nail per hand and let the hearts and color fields carry the rest.
Paint the mask in gold first, then add purple and green details. Outline last for sharp edges.
Long nails are the cost here: they take more time to paint and are harder to wear day to day.
11. Diagonal Color Blocking and Yellow Grid
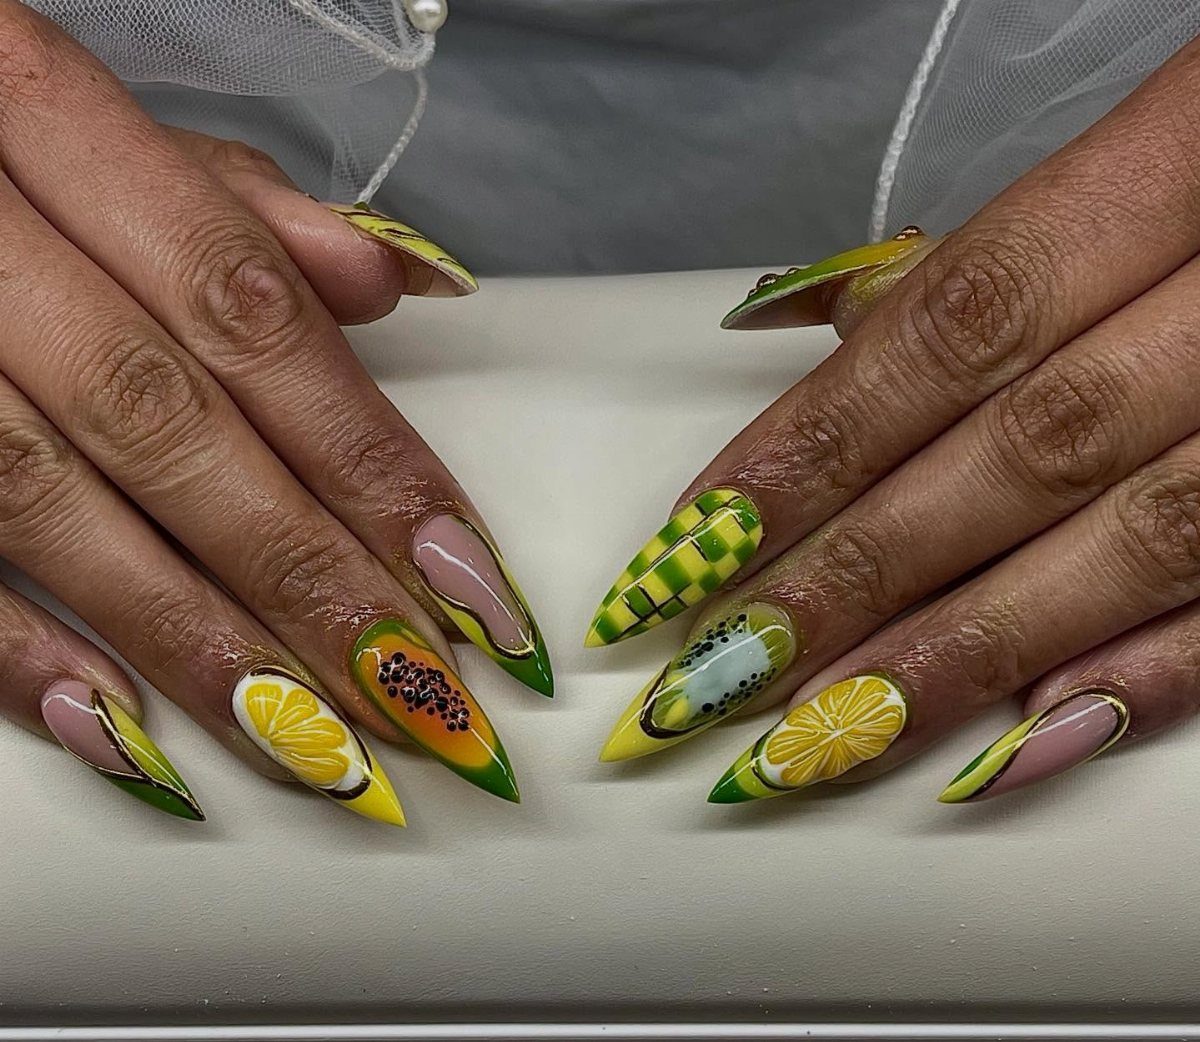
Yellow grid lines, lemon art and passion fruit in pink and green make the least expected set here, and a good one for a daytime party. Long pointed nails give the fruit room to show.
Lay the yellow base, then draw the grid with a thin black or white line brush, keeping the squares roughly even. Add the fruit on a couple of accent nails only.
Diagonal color blocks come first, so tape the edges before you paint.
Booking Tips for Nail Art
Parade season runs long and the calendar fills fast, so book your appointment early, especially for the big Mardi Gras weekends.
Waiting until the week before usually means settling for whatever slot is left, and detailed art needs a longer one.
A gel or dip finish is worth requesting if the set has to survive 3 or 4 weekends of parades, bead-catching and crowded street parties.
A design that chips by the second parade is a lot of money and time for a few days of wear.
Nail Art for Short Nails
Short nails can carry plenty of art. Dots, stripes, small florals, accent nails and minimalist designs all sit well on a small canvas, and they stay neat because there is less surface to fill.
Detailed scenes and lettering need more room. If that is what you want, grow your nails to medium or long first, or save the fine work for a set you plan around that length.
Keeping Designs Fresh
A drop of cuticle oil each night keeps the skin around the nail soft and the edges of the design looking clean. It takes 10 seconds and makes a set look fresh for longer.
Water and harsh cleaners wear down both the finish and the art.
Skip using a nail to pop a can tab or pry open a snack bag, which is exactly what happens on parade days. Carry a bottle opener or ask a friend for a hand.
A chip in a detailed design is better fixed by a tech in a short touch-up visit than picked at, since picking lifts the layers around it.
Picking tends to pull off more than the chip, and a repair costs less than redoing the whole set.
Frequently Asked Questions
Can I get nail art on short nails?
Yes. Short nails handle polka dots, thin stripes, tiny flowers, a single accent nail, or a clean minimalist look well, and a small surface keeps the design from looking crowded.
Scenes and lettering need real estate, so I’d wait until your nails reach medium or long, or book that detailed work for a later set built around the extra length.
How long does nail art take?
It depends on the design.
One accent nail adds only a little time, while a full hand-painted set adds considerably more. Book early and ask for the nail art option so the appointment has enough time reserved, especially around the big Mardi Gras weekends.