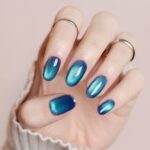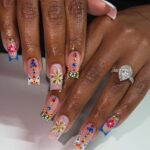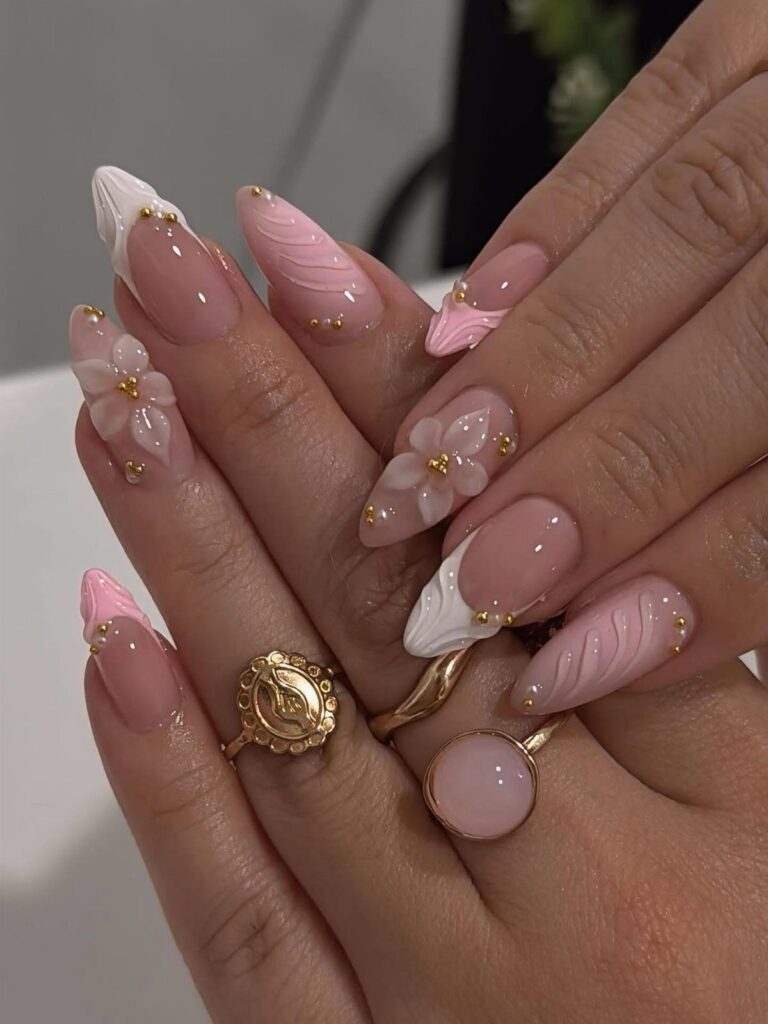
Nail length and hand steadiness decide which of these sets is yours: a bunny face or daisy petals take a thin detail brush and patience, while polka dots and wavy lines forgive a shaky hand, and jagged white tips only show their points on long almonds.
The range runs from polka dots on pastel polish to raised 3D dots, and the narrow almond tip means small art sits best near the cuticle or center of the nail.
For a first try, I would pick dots or waves.
1. Pastel French Tips
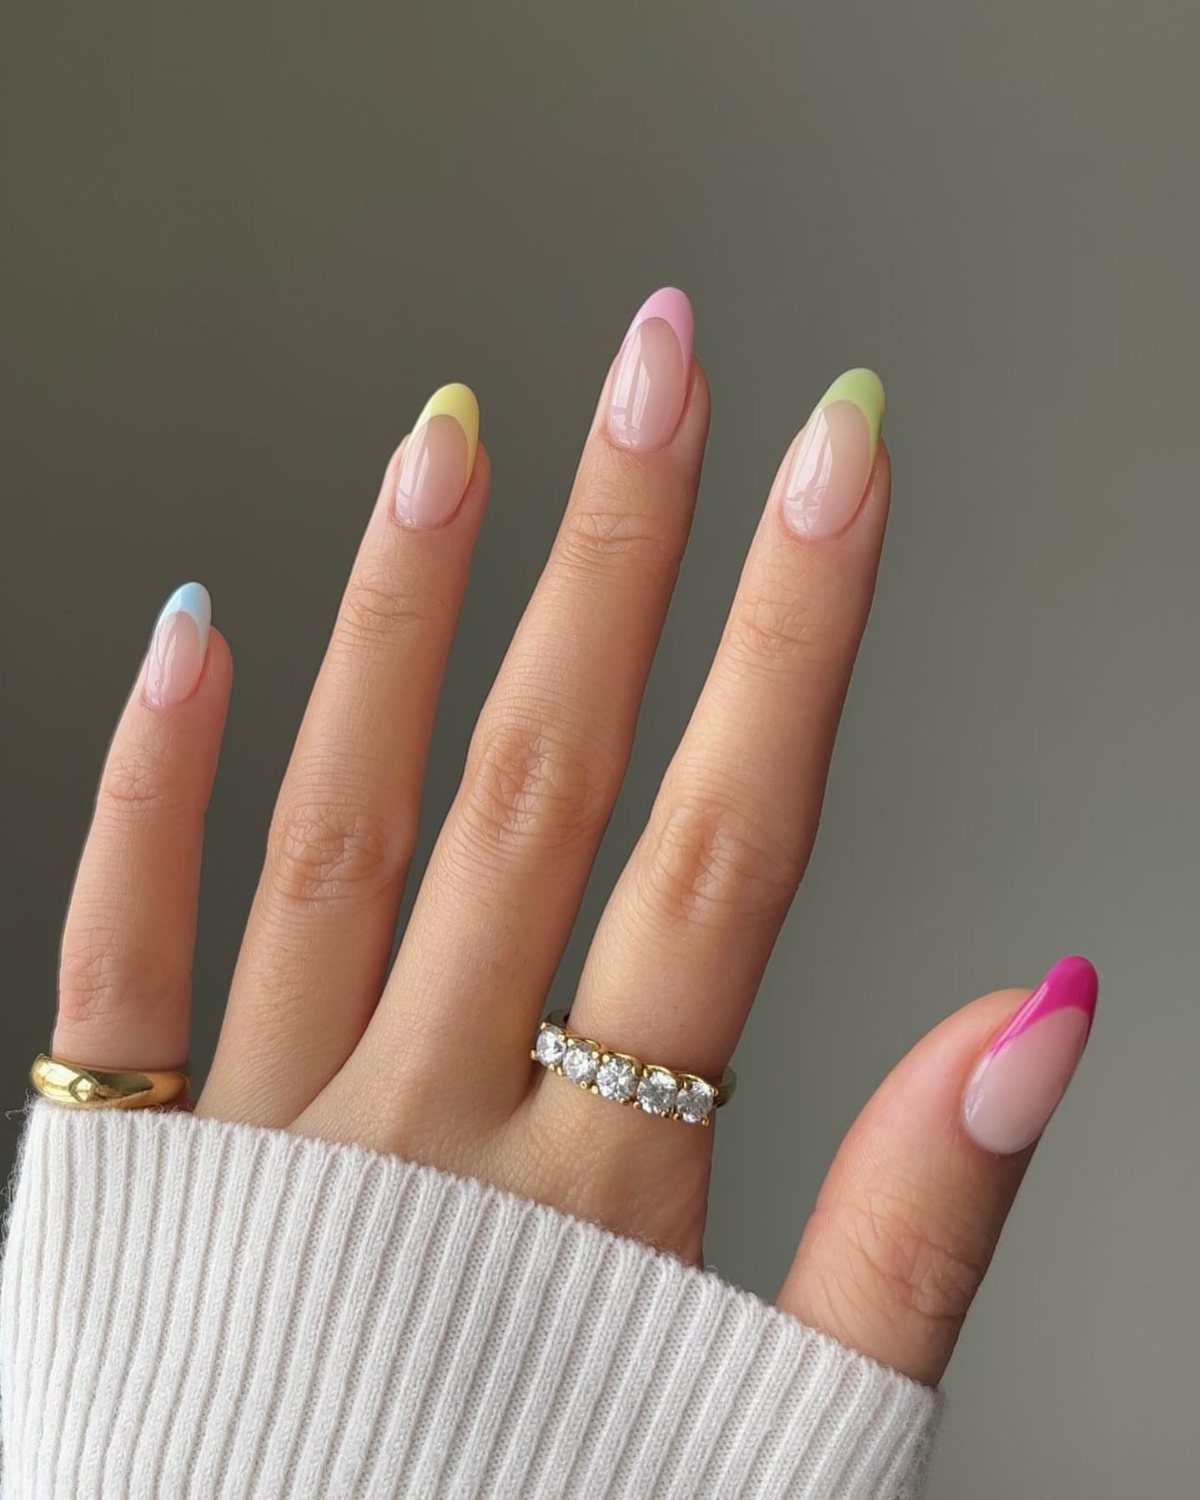
Nude base, then a different pastel on each tip: that is the whole design, and it is the easiest way into Easter color on almond nails.
The nude base tempers the colors, so lilac, mint and butter yellow read as candy accents instead of a loud statement.
Paint the tip with a thin brush and follow the almond’s curve instead of a straight line.
A slight diagonal sweep flatters the shape better than a hard horizontal. I would pick a few pastels and repeat them, so the set looks planned.
2. Daisy Floral Accents
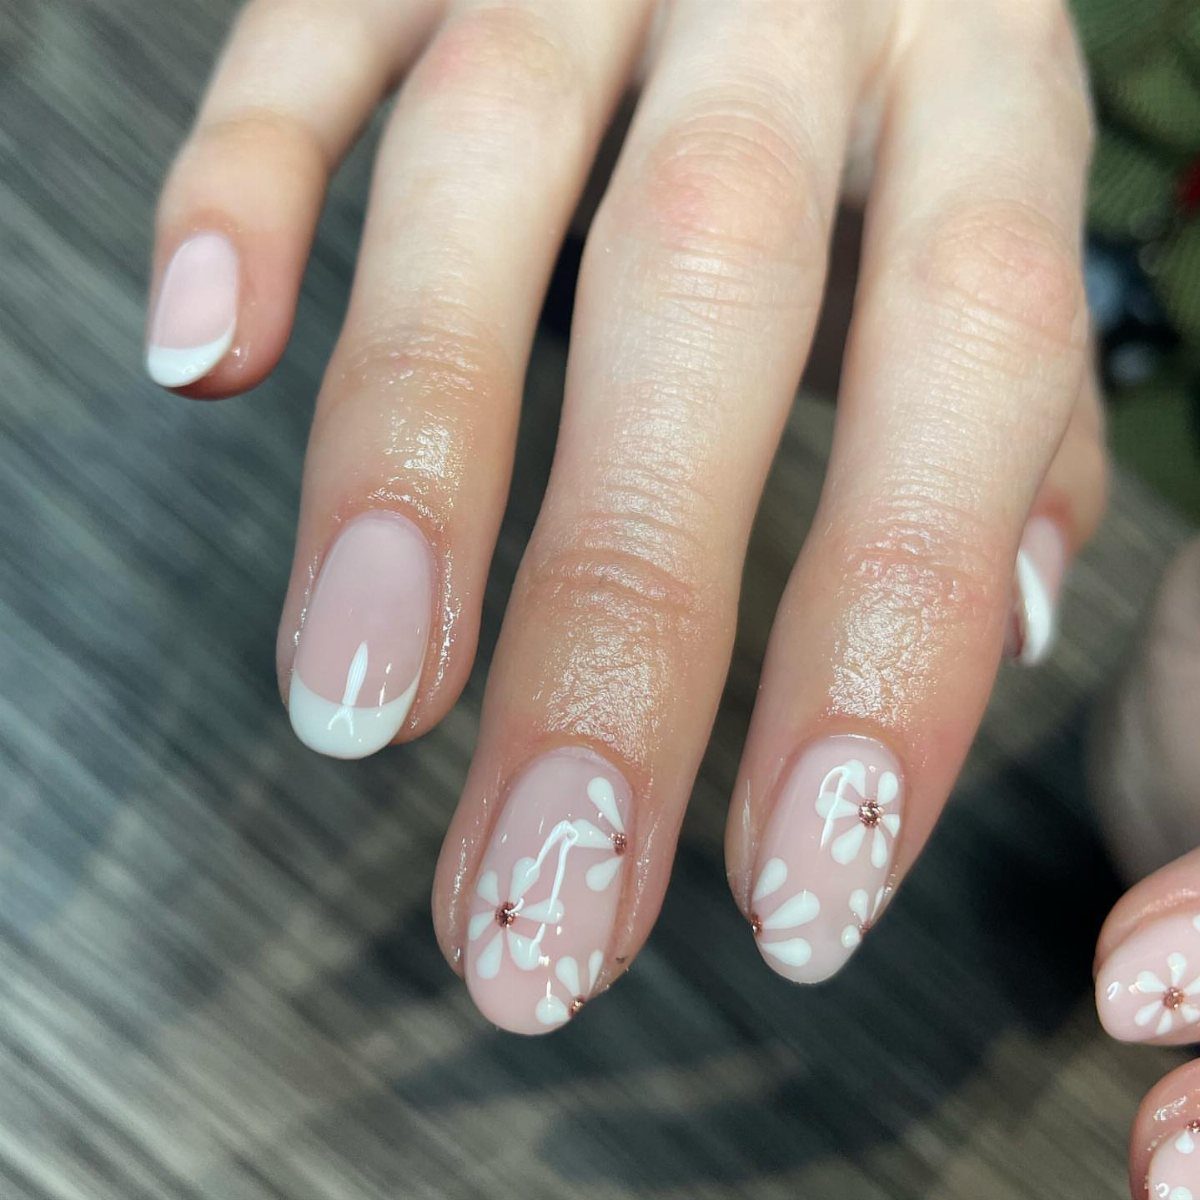
White daisies on a nude base, finished with white French tips, make the most polished option here. A hand-painted flower needs only something that makes small circles: petals around a center.
Keep the petals uneven. Perfect symmetry looks like a sticker, while slightly loose petals look drawn on purpose.
Limit daisies to one or two accent nails and leave the rest with the white tips, which saves time and keeps the set from feeling busy. Let each layer dry before the next.
3. Colorful Polka Dots
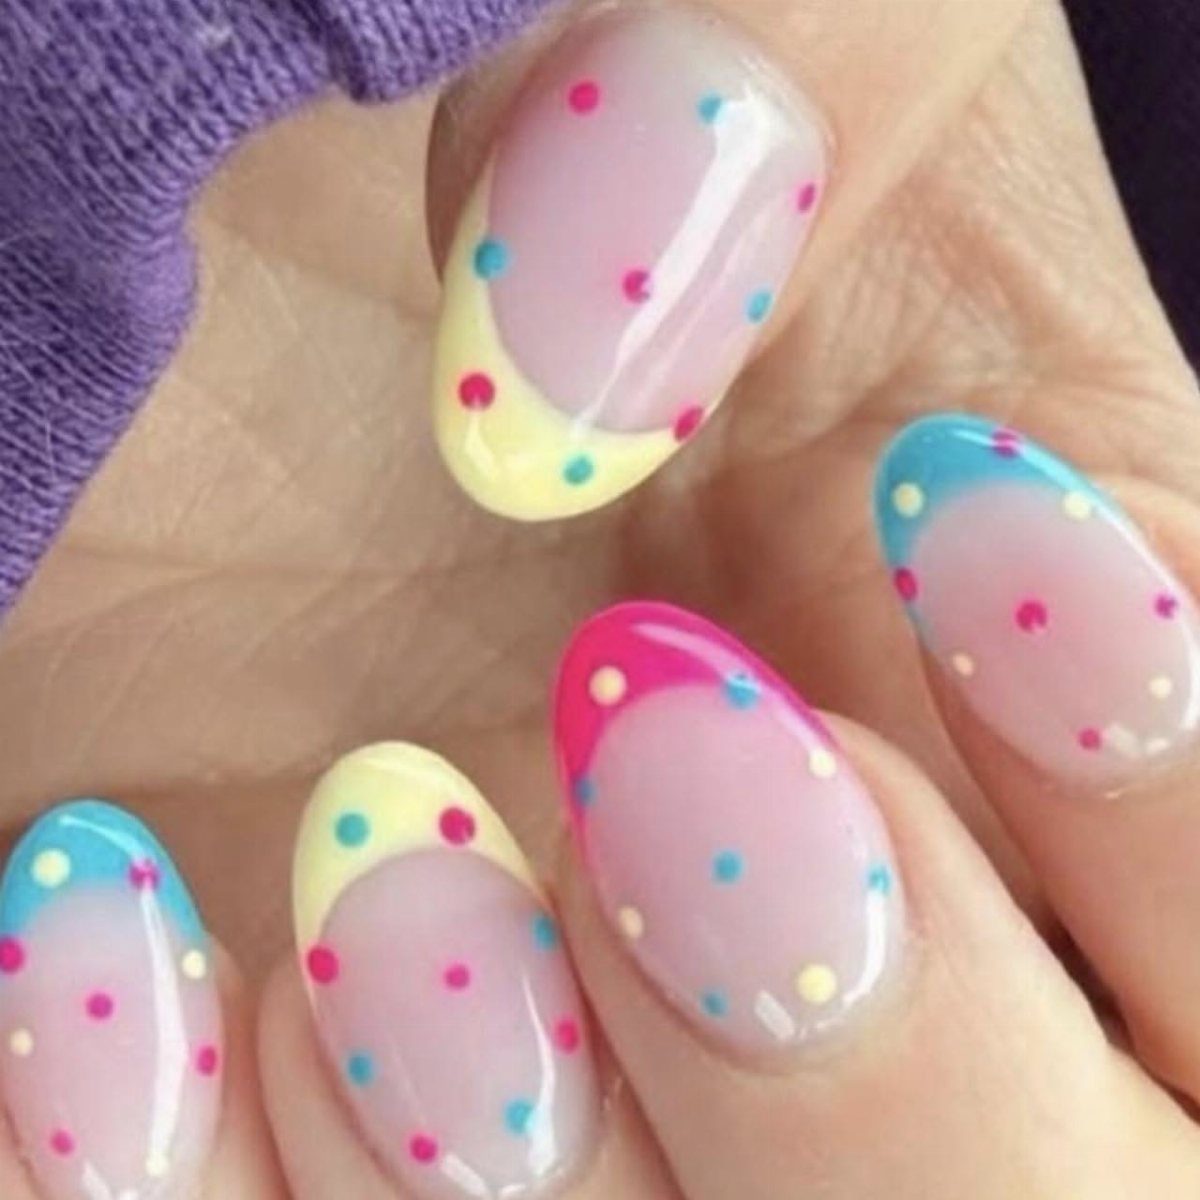
Polka dots are the forgiving choice for anyone who dreads detail work. Scatter multicolored dots over a nude base, then finish with pastel tips, and nobody checks the spacing.
The tip of a bobby pin or a toothpick does the job. Dab, wipe, dab again.
Random spacing beats a grid, because crooked dots read as playful. I would use a few colors across the set so it feels like jelly beans, not confetti.
4. Easter Bunny Nail Art
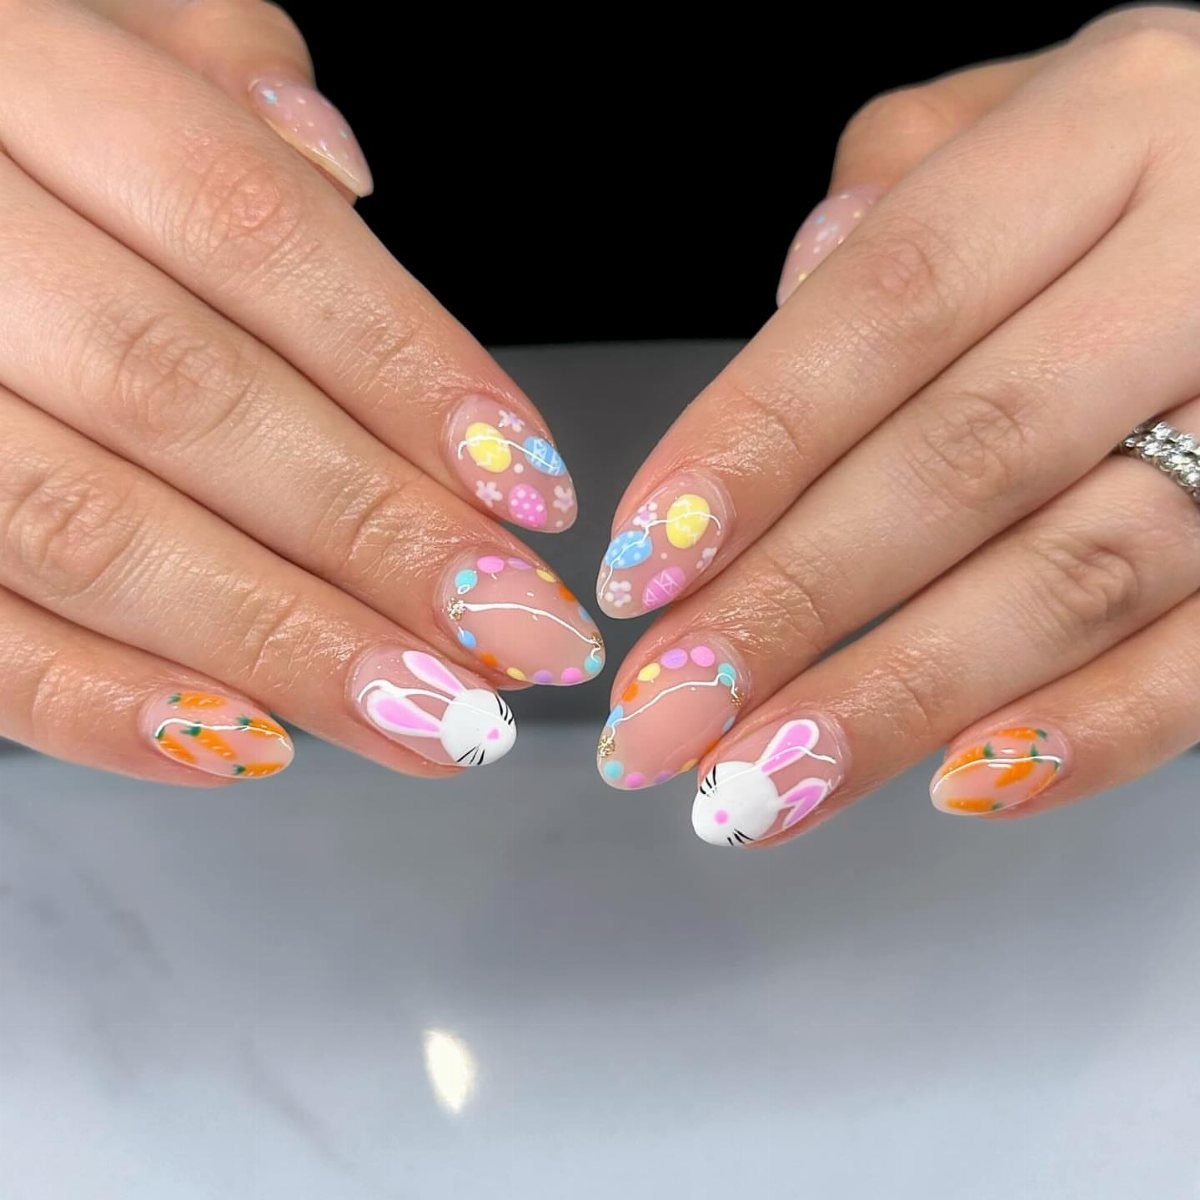
A bunny face painted on a single nail gives a set its personality, and the other nails can carry eggs and flowers on the same nude base. Expect this to be the slowest design on the list.
Use a fine detail brush: an oval face, 2 tall ears, tiny dots for eyes.
Almond nails give you a narrow canvas, so keep the face small and put it on the ring finger or thumb. Everything else should stay simple, or the bunny gets lost.
5. Pastel Egg Patterns
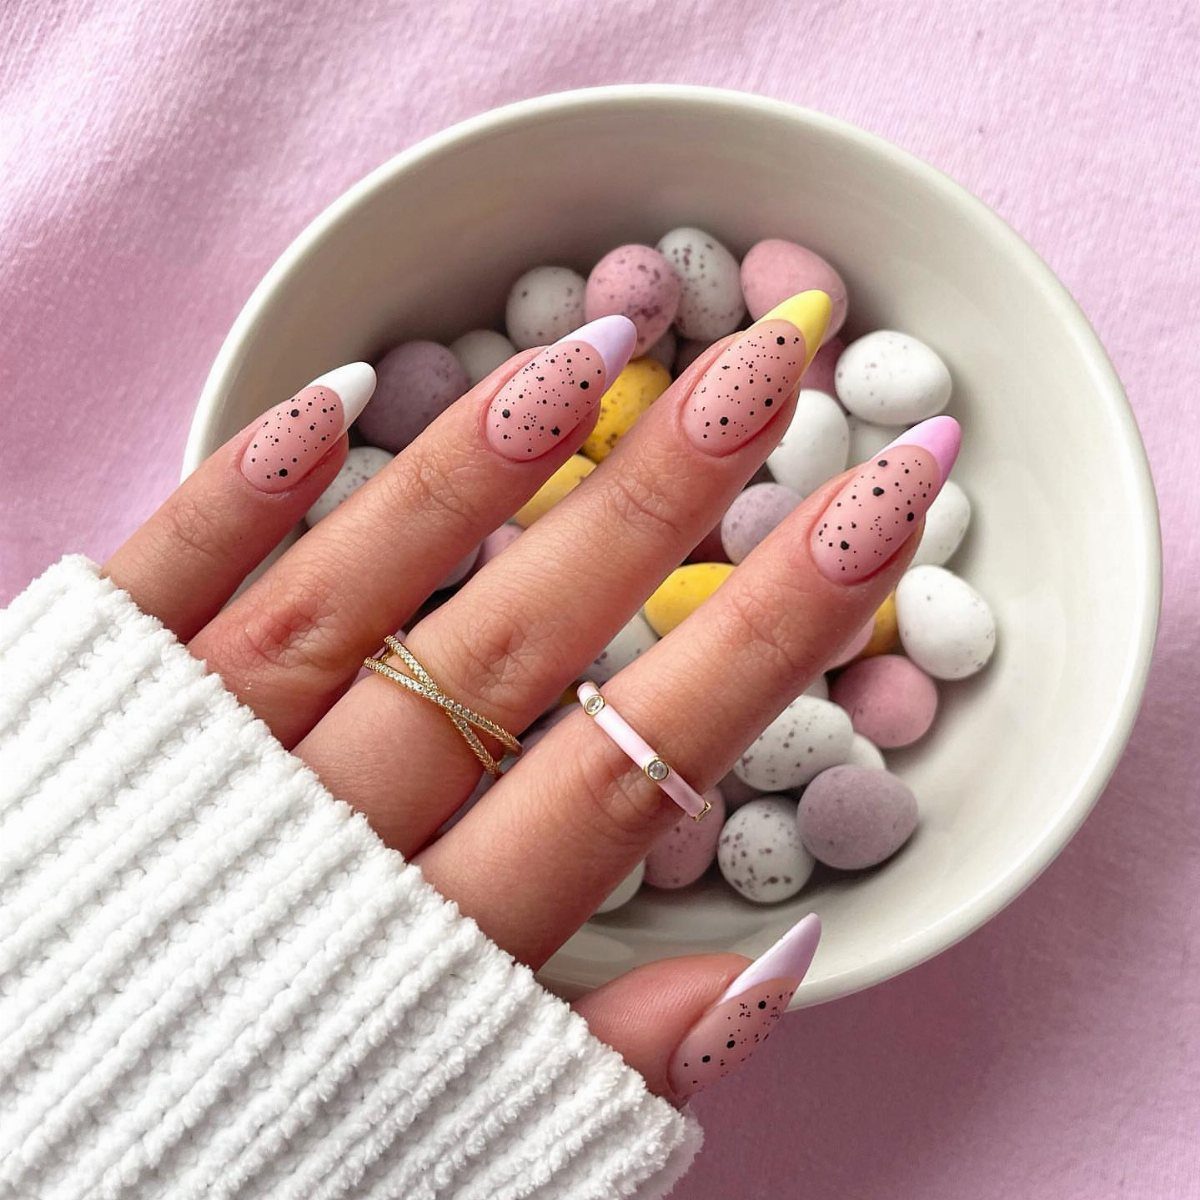
Speckled pastel polish looks like a candy-shell egg, and that is why the idea works. Nude bases with pastel tips and a fine scatter of dark dots take it from plain to Easter in one step.
Flick a thin brush loaded with very little polish to make the speckles, or tap it with something that makes small circles.
Sparse beats crowded. I would paint the pastel on one or two nails and leave the rest smooth, so the speckles stay the focus.
6. Pastel Polish with 3D Dot Accents
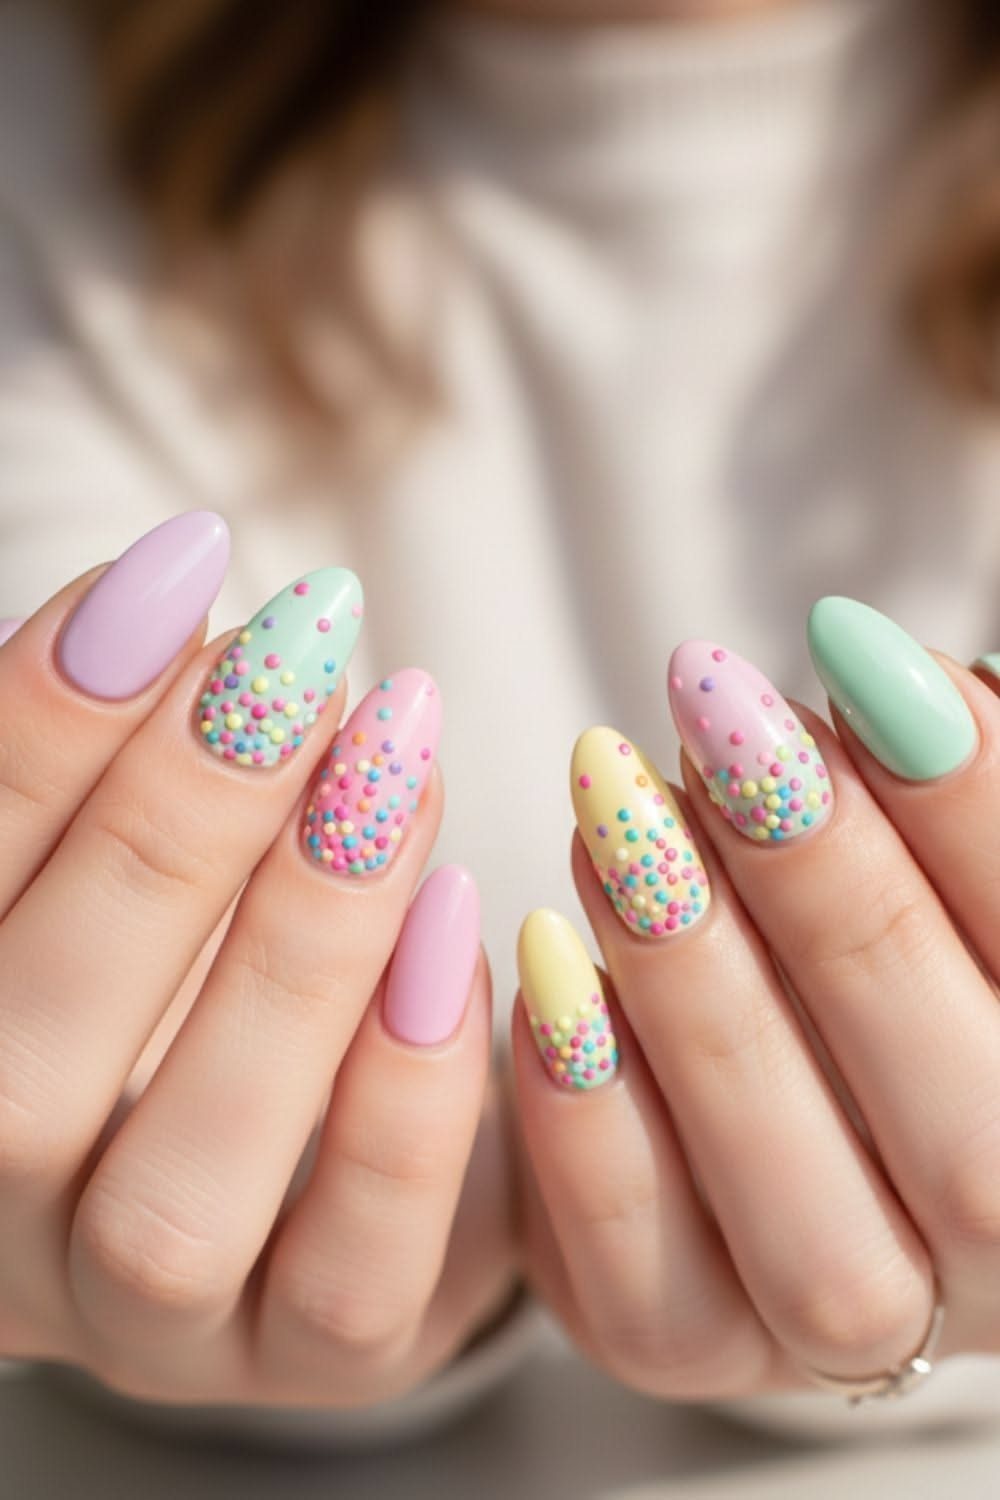
Soft pastel polish on every nail, with raised 3D dots on a few fingers, gives you texture without any painting skill. The dots do the decorating.
Place each dot in wet clear gel or top coat, in several colors, and cure or let dry before sealing.
Stick to 2 or 3 accent fingers; covering all ten gets heavy on almond nails. Pale pink, mint and lavender as the base keep the whole set looking like spring.
7. Simple Wavy Lines
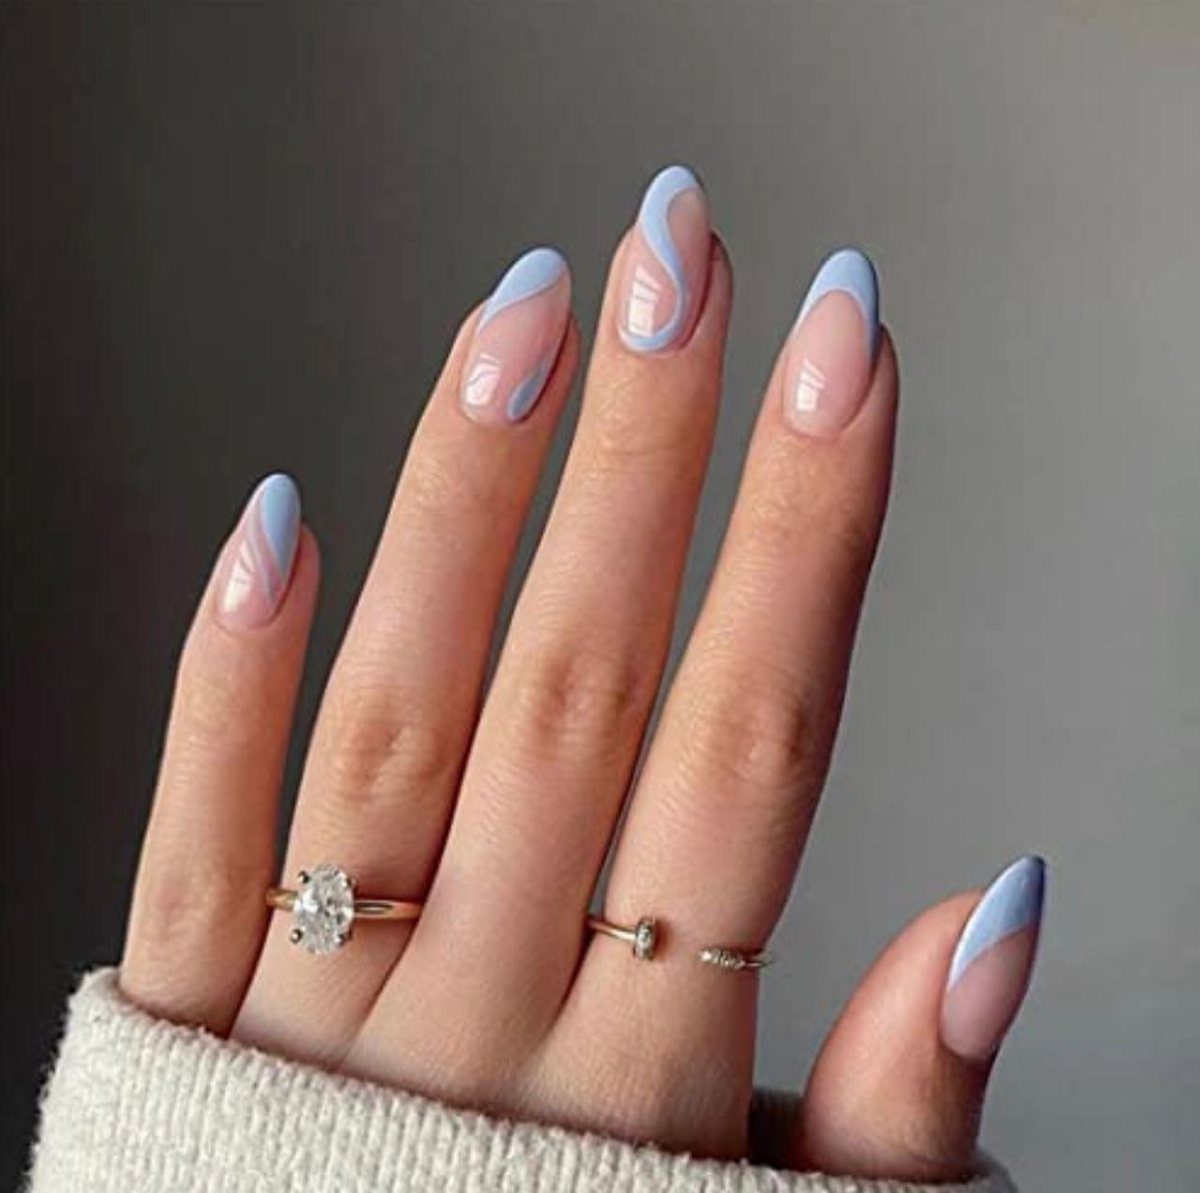
Light blue lines that drift across a nude base look like water, and they ask for no ruler and no stencil. Wobble is the design, so a shaky hand is an advantage here.
A thin brush works best.
Pull each line in one slow motion from side to side, and let the wave bend with the almond curve instead of fighting it. Vary the spacing a little.
I would keep the lines to 2 or 3 per nail, because a crowded set loses the calm that makes it work. Let the blue dry fully before top coat.
8. Jagged Tips
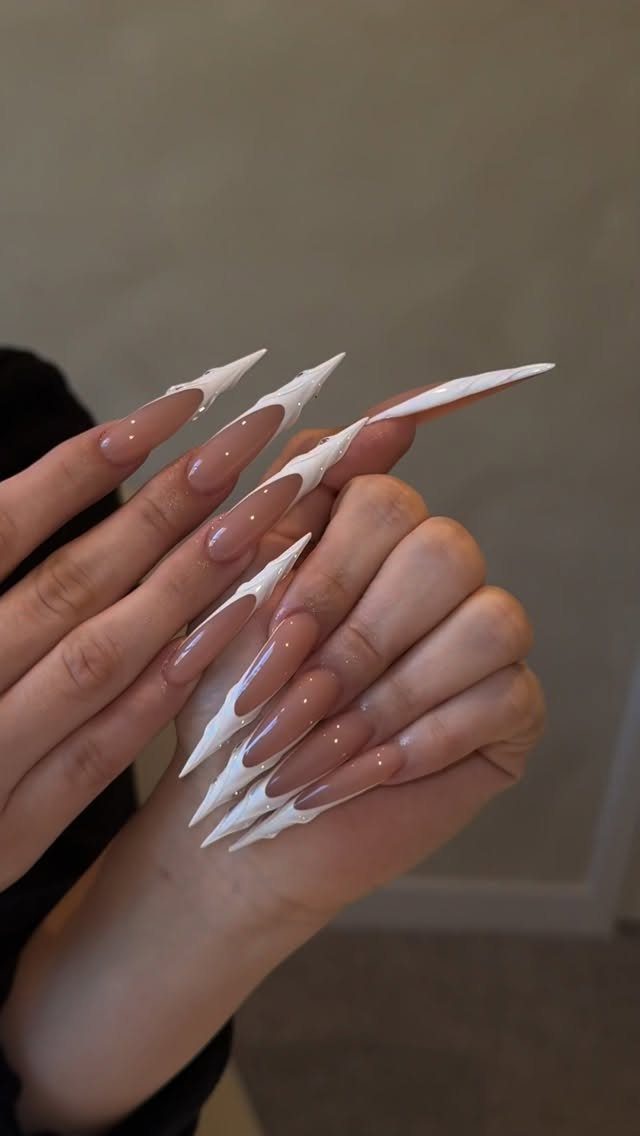
Sharp white points on the tips turn a nude almond nail into something closer to a claw, and they make the boldest design of the bunch. It suits a reader who finds pastels too sweet for Easter.
The work is in the zigzag. Paint the white in short, quick strokes, peaking and dipping across the free edge, and keep the peaks different heights so the line looks torn instead of stamped.
A liner brush with long, thin bristles gives you the steadiest points. Clean mistakes with a small brush dipped in remover.
Long nails show this off best. On short almonds the points have little room to show, so a gentler design suits that length better.
Color Combinations
Pick one dominant pastel and let two others support it. Purple, yellow and blue work well together over a nude base, and a pink and blue pairing is just as easy to pull off.
For a set that feels finished, add one white nail as a resting spot for the eye. Red is another route: a red polish on most nails with a nude accent nail gives a bolder look than the usual pastels.
Match the undertone to your skin. Cool lilac and baby blue flatter pink undertones, and butter yellow suits warmer ones.
Nail Art Techniques
Hand-painting gives you the most control over small shapes, and decals are the quick way around a shaky hand. Use each where it fits: paint the broad strokes yourself and place decals for anything fussy.
Apply a decal onto tacky polish, press it flat with a silicone tool or the back of a clean brush, and seal the edges with top coat. Tweezers keep the placement tidy.
Practice a design on a nail tip stuck to a piece of tape before you commit to your real nails. Work one hand at a time so nothing smudges while you reach for the next tool.
Nail Shape Popularity
Almond nails taper to a soft point, and that rounded narrow tip is why they read as feminine and suit spring so well. The shape also lengthens the fingers.
Because the free edge is narrow, small designs sit best near the base or in the center of the nail, where there is room. A tiny daisy at the cuticle is one example of using that space.
File into the shape gradually, tapering from the sides toward the center. Keep the tip slightly rounded rather than sharp, since a fine point snaps more easily.