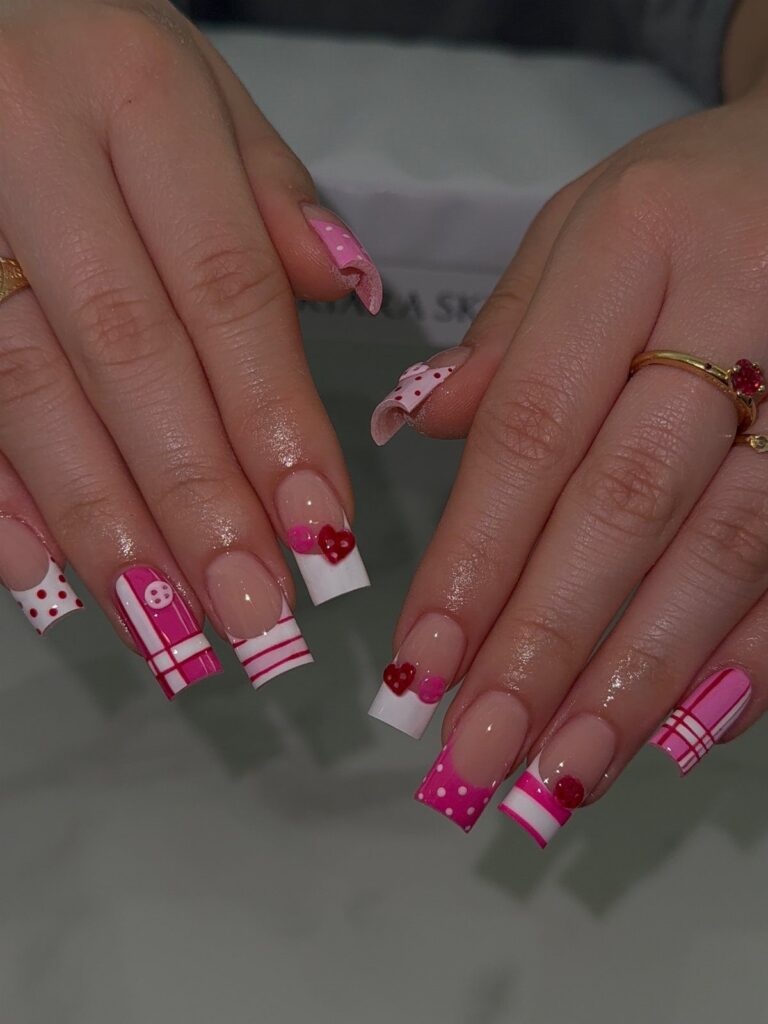
Your skill with a brush decides which of these square sets is yours, since the designs range from simple hearts on a few nails to long sets packed with glitter, rhinestones and bow accents.
Beginners do best with swirls, minimalist hearts and decals, which forgive a shaky hand, while gingham stripes, painted bows and gold French tips ask for a fine liner brush and steady two-thin-coat patience.
1. Minimalist Hearts
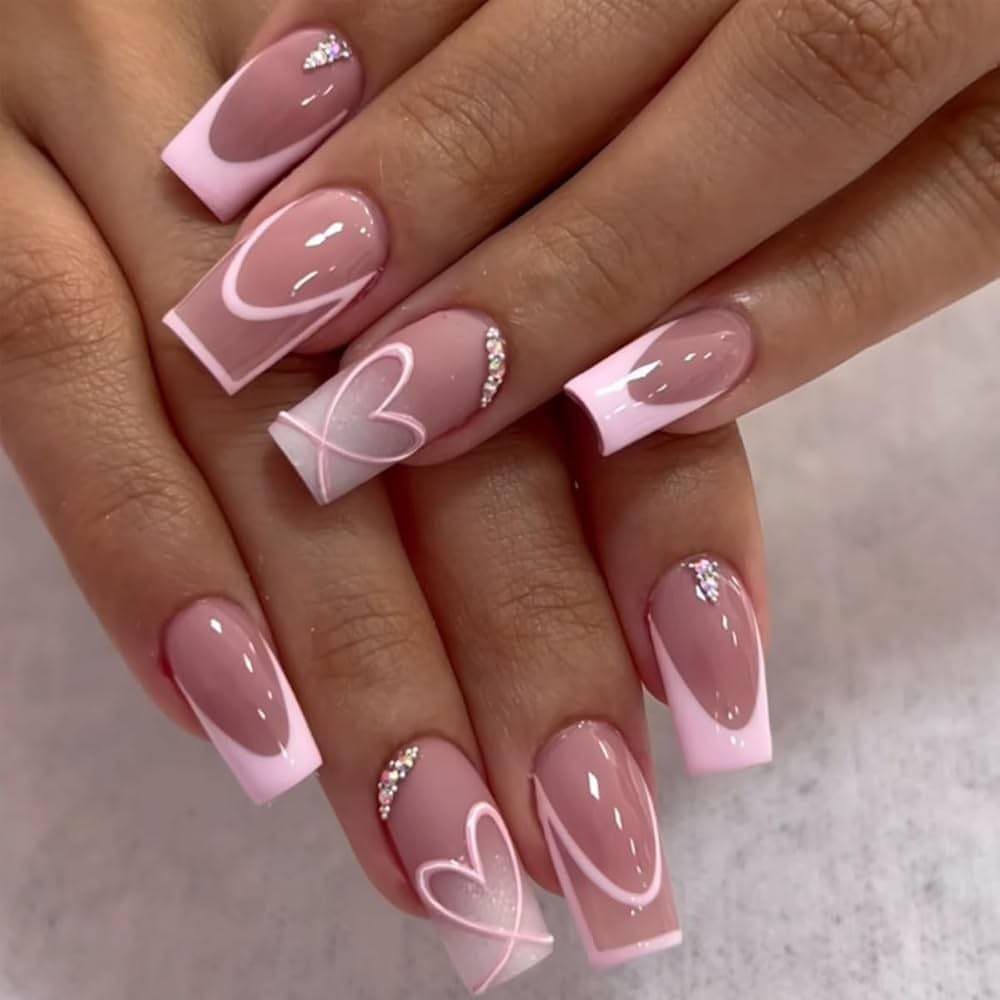
Small white hearts on a nude base with pink tips give a square nail its softest Valentine look.
The flat square tip is a good frame for a tiny heart, and a few rhinestones can sit near the cuticle without crowding the design.
With limited skill, I’d put hearts on just 2 or 3 nails per hand and keep the others plain pink or nude.
A dotting tool and white polish make a heart in 2 dabs pulled together, and a mistake wipes away before it dries.
2. Gingham Glam
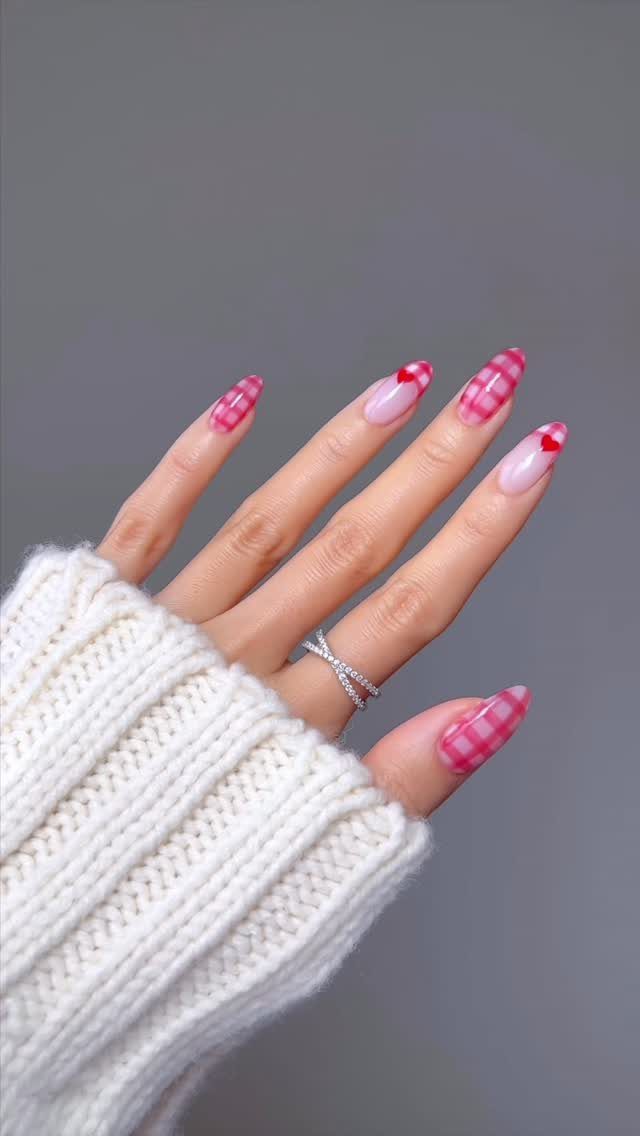
Pink gingham reads as playful and a little retro, and the red hearts keep it tied to the holiday. Square nails suit the pattern well because the straight edges line up with the grid.
Paint a pale pink base, let it dry fully, then draw crossing stripes with a fine detail brush or a nail art pen.
Keep the lines sparse. Overlapping stripes in a slightly deeper pink are what create the checked look, so nothing fancy is needed.
I’d save the gingham for 2 accent nails and keep the hearts on the others.
3. Shimmering Glitter and Rhinestones
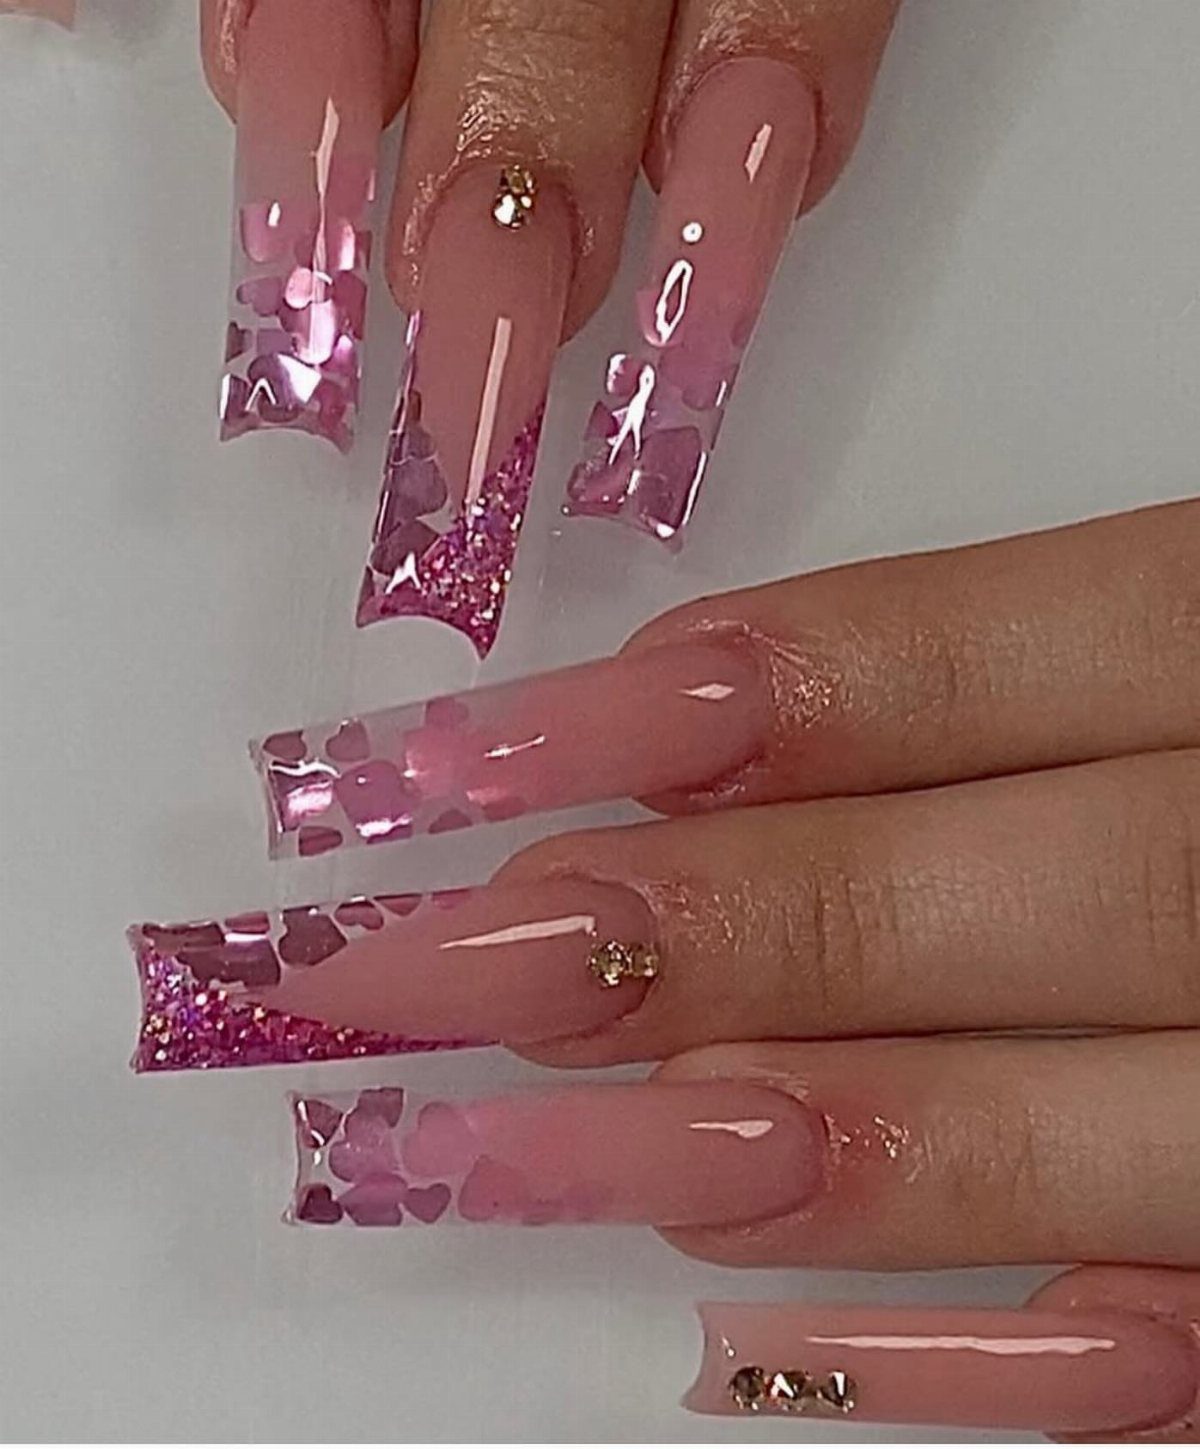
Glitter, heart sequins and small rhinestones all on one long square set is the maximal choice here. Shimmer pink does most of the work, so the stones only need to land where the eye wants a spark.
Pick up rhinestones and sequins with a wax pencil or a damp dotting tool, set them in a layer of clear gel or top coat, then seal the edges.
Cap the free edge too, since square corners catch on sweaters and hair first.
Long nails like these cost more in time, so a press-on set is the shortcut.
4. Red and White Valentine Accents
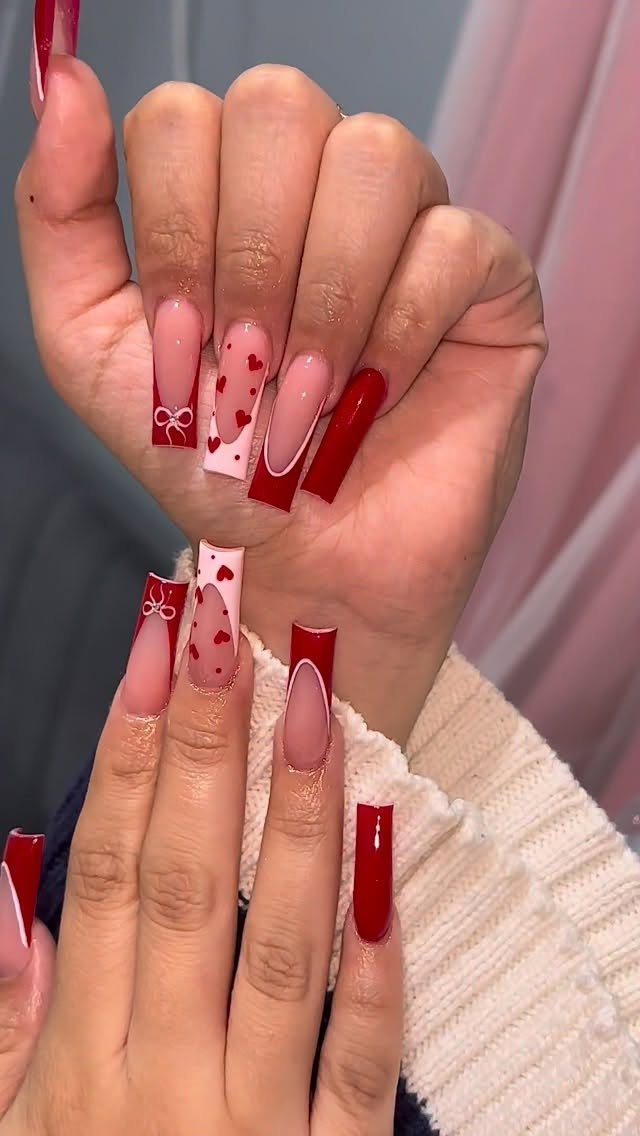
Red and white French tips with hearts and tiny bows turn a classic square manicure into a Valentine set without any pink at all. The two-color palette keeps a busy design looking tidy.
Do the tips first, in alternating red and white, and add a single bow or heart to each accent nail.
Bows are the fiddly part. Stick-on bow charms are easier than painting them, though they sit taller and may snag.
I’d pick one nail for the bow and let the rest carry hearts.
5. XOXO Lettering and Hearts
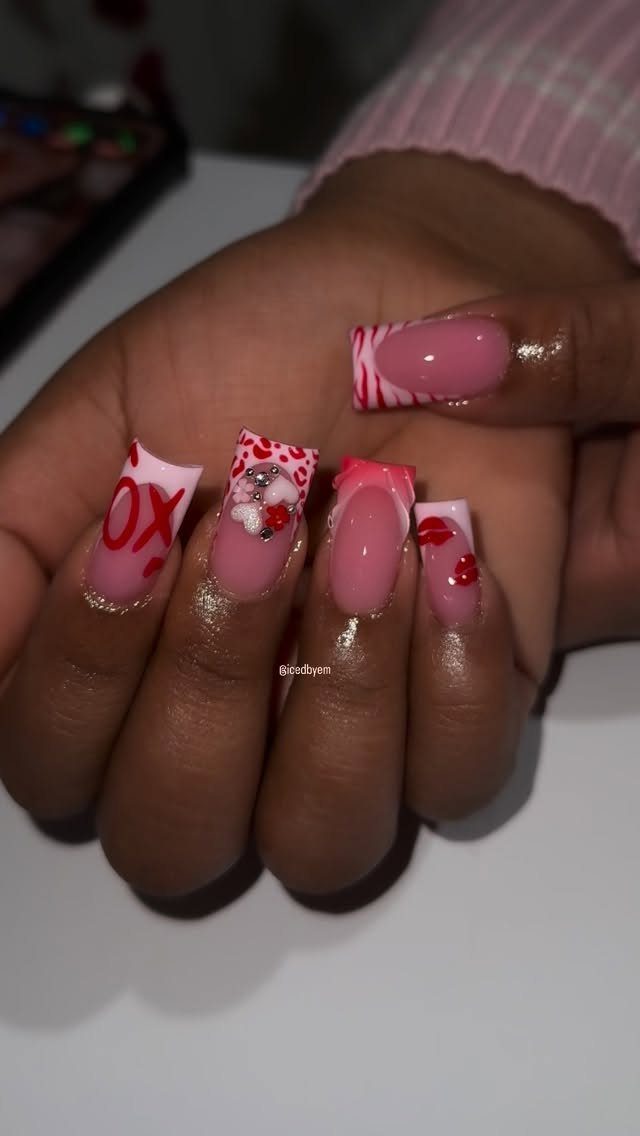
Spelling XOXO across a square set gives each nail a job: X on one, O on the next. Pink and white polish behind red hearts and a few gems keeps the letters easy to read.
Letters are hard to freehand on short nails, so use a thin liner brush or a fine-tip nail pen, and let the base dry completely first. Letter stickers or decals are the beginner route and look clean under top coat.
Gems work best on just 1 or 2 nails. Too many fight with the lettering.
6. Metallic Gold French Tips
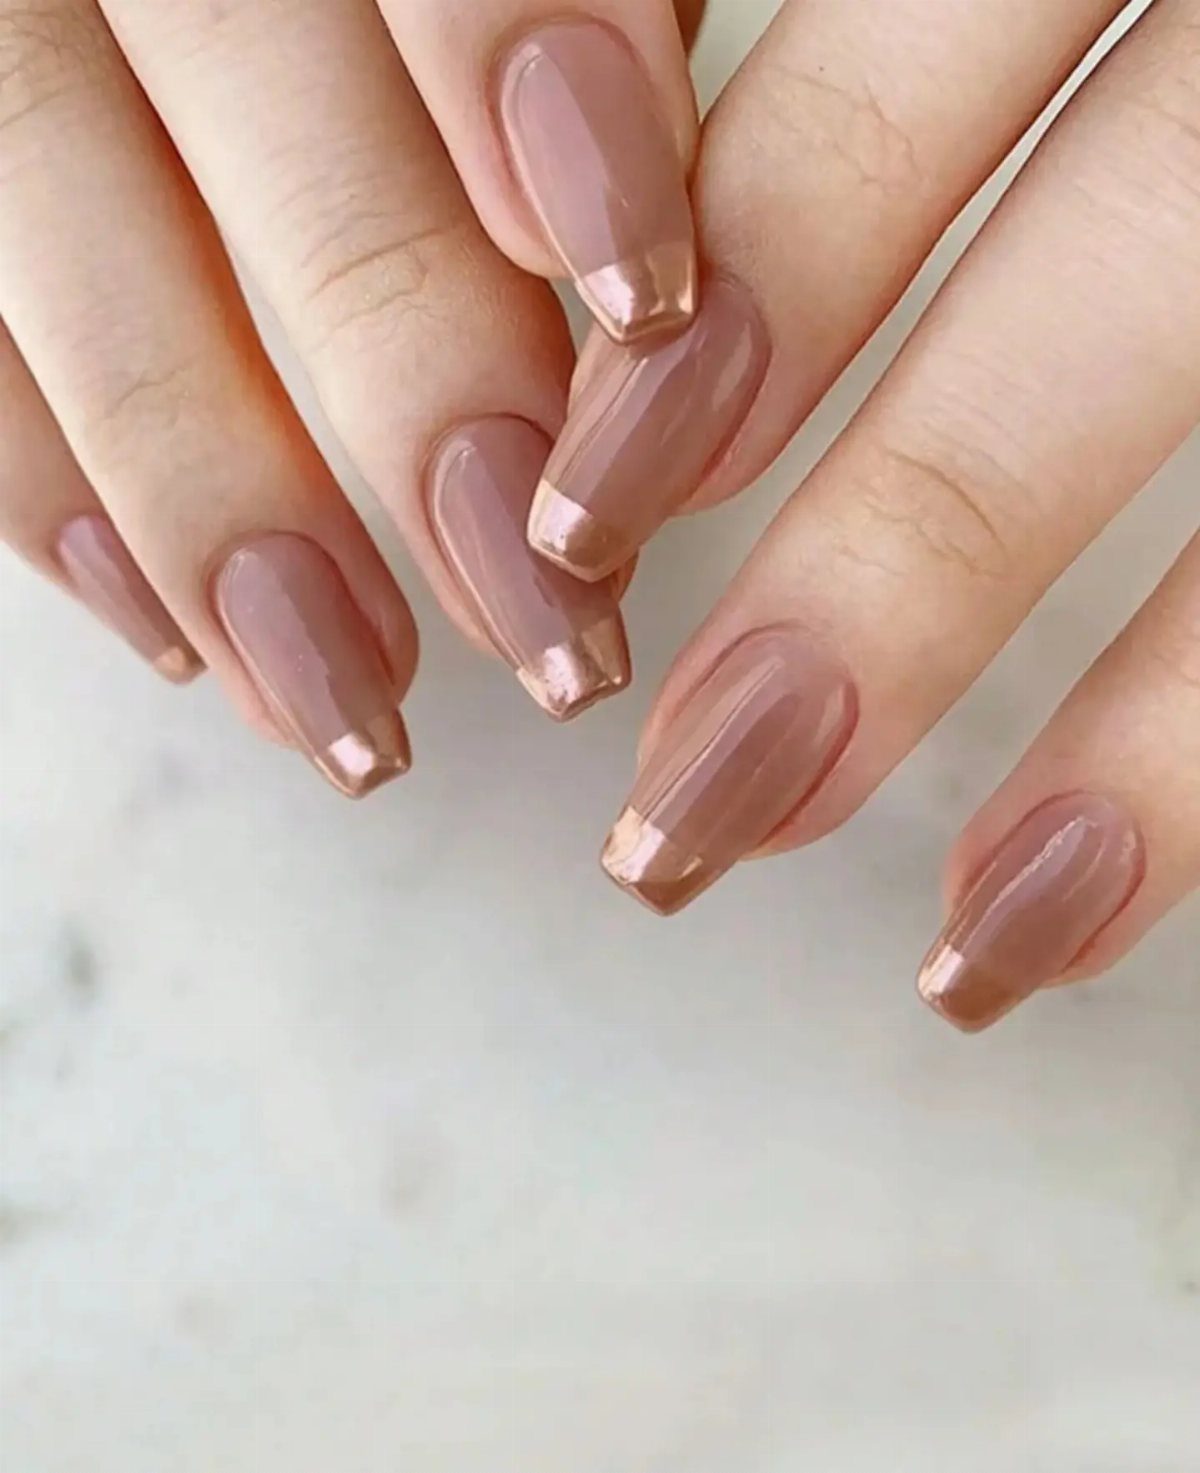
Glossy nude-pink with metallic gold tips is the quietest look for Valentine’s Day, and it works well beyond February. The gold says special occasion without needing a single heart.
A French tip on square nails is easiest with tip guide stickers or a fine liner brush held flat.
Paint the tip straight across rather than curved, which matches the square edge and hides small wobbles. Metallic polish can streak, so use two thin coats instead of one thick one.
Finish with a glossy top coat over everything to blend the line.
7. Pink and White Bow Accents
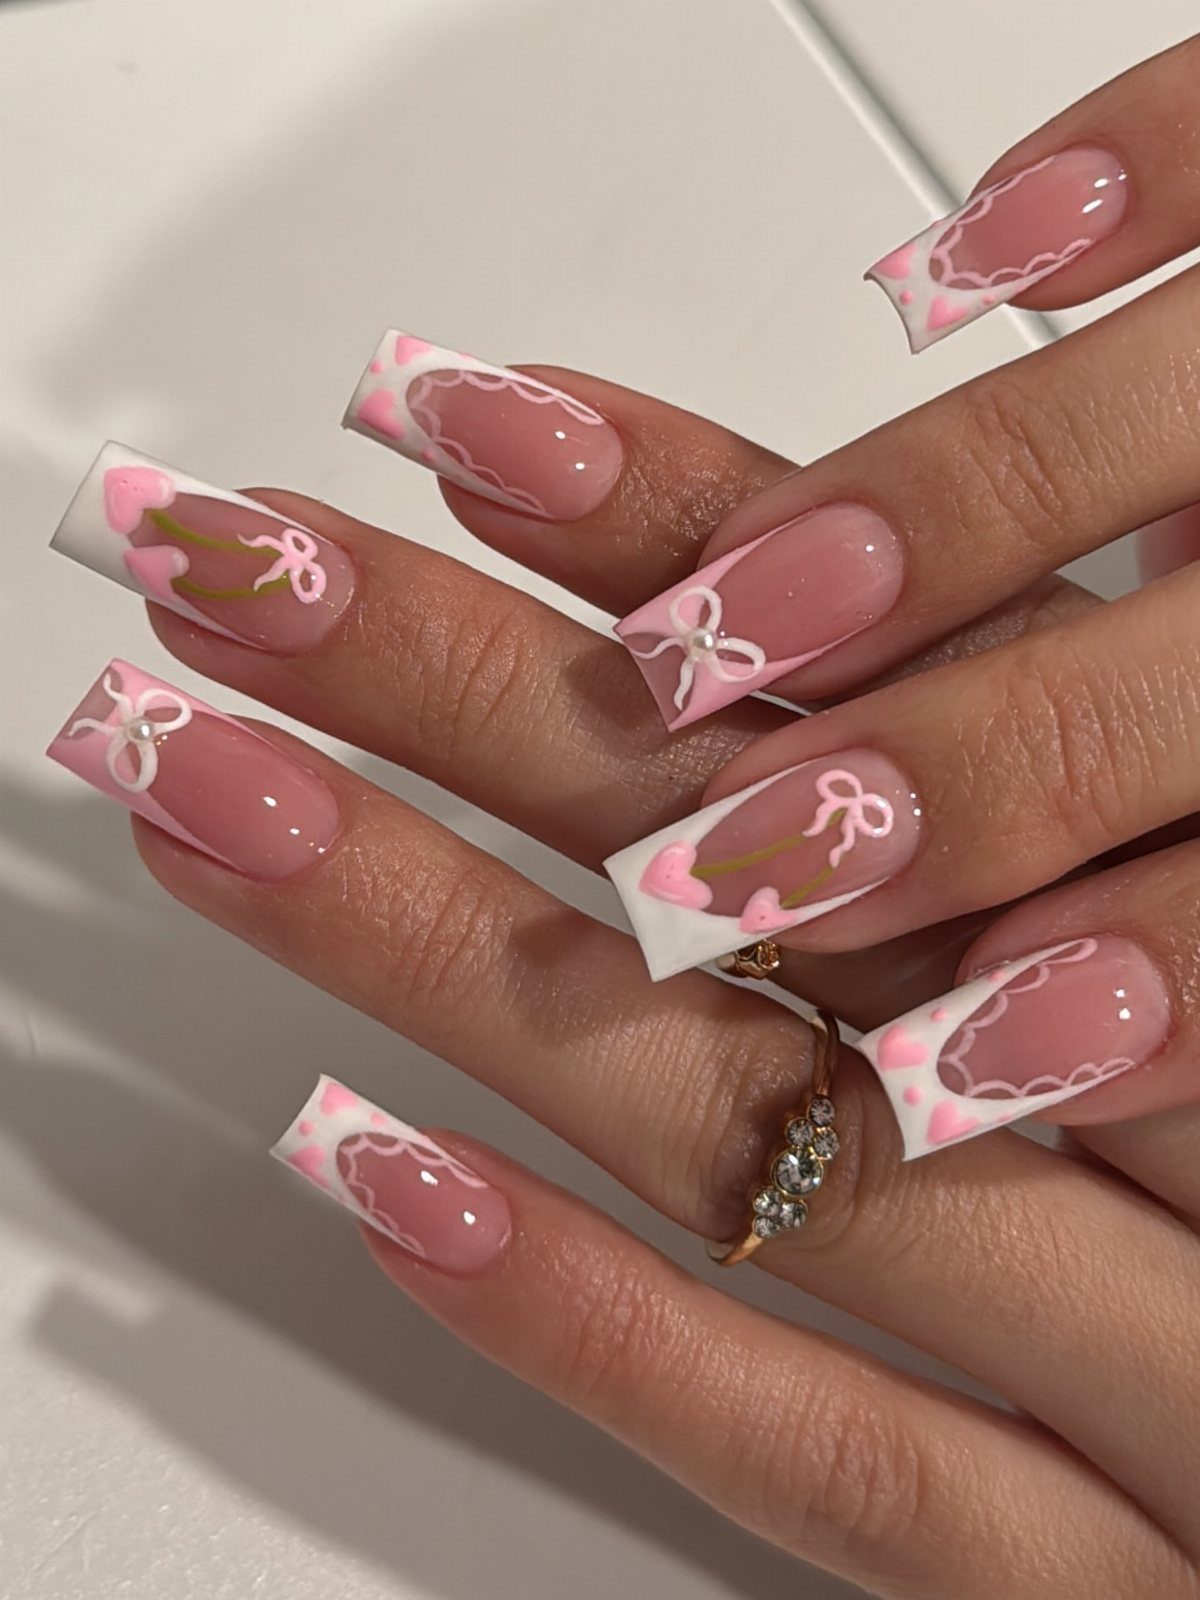
Painted hearts, small white bows and a few French tips keep a long square set to a two-color palette, and that restraint is why it looks tidy.
Bows are the hard part, so I’d paint one bow per hand on an accent nail with a fine liner brush: two loops, a tiny center dot. White over pink needs 2 thin coats to cover.
Let the hearts and tips carry the other nails.
8. Floral Hearts and French Tips
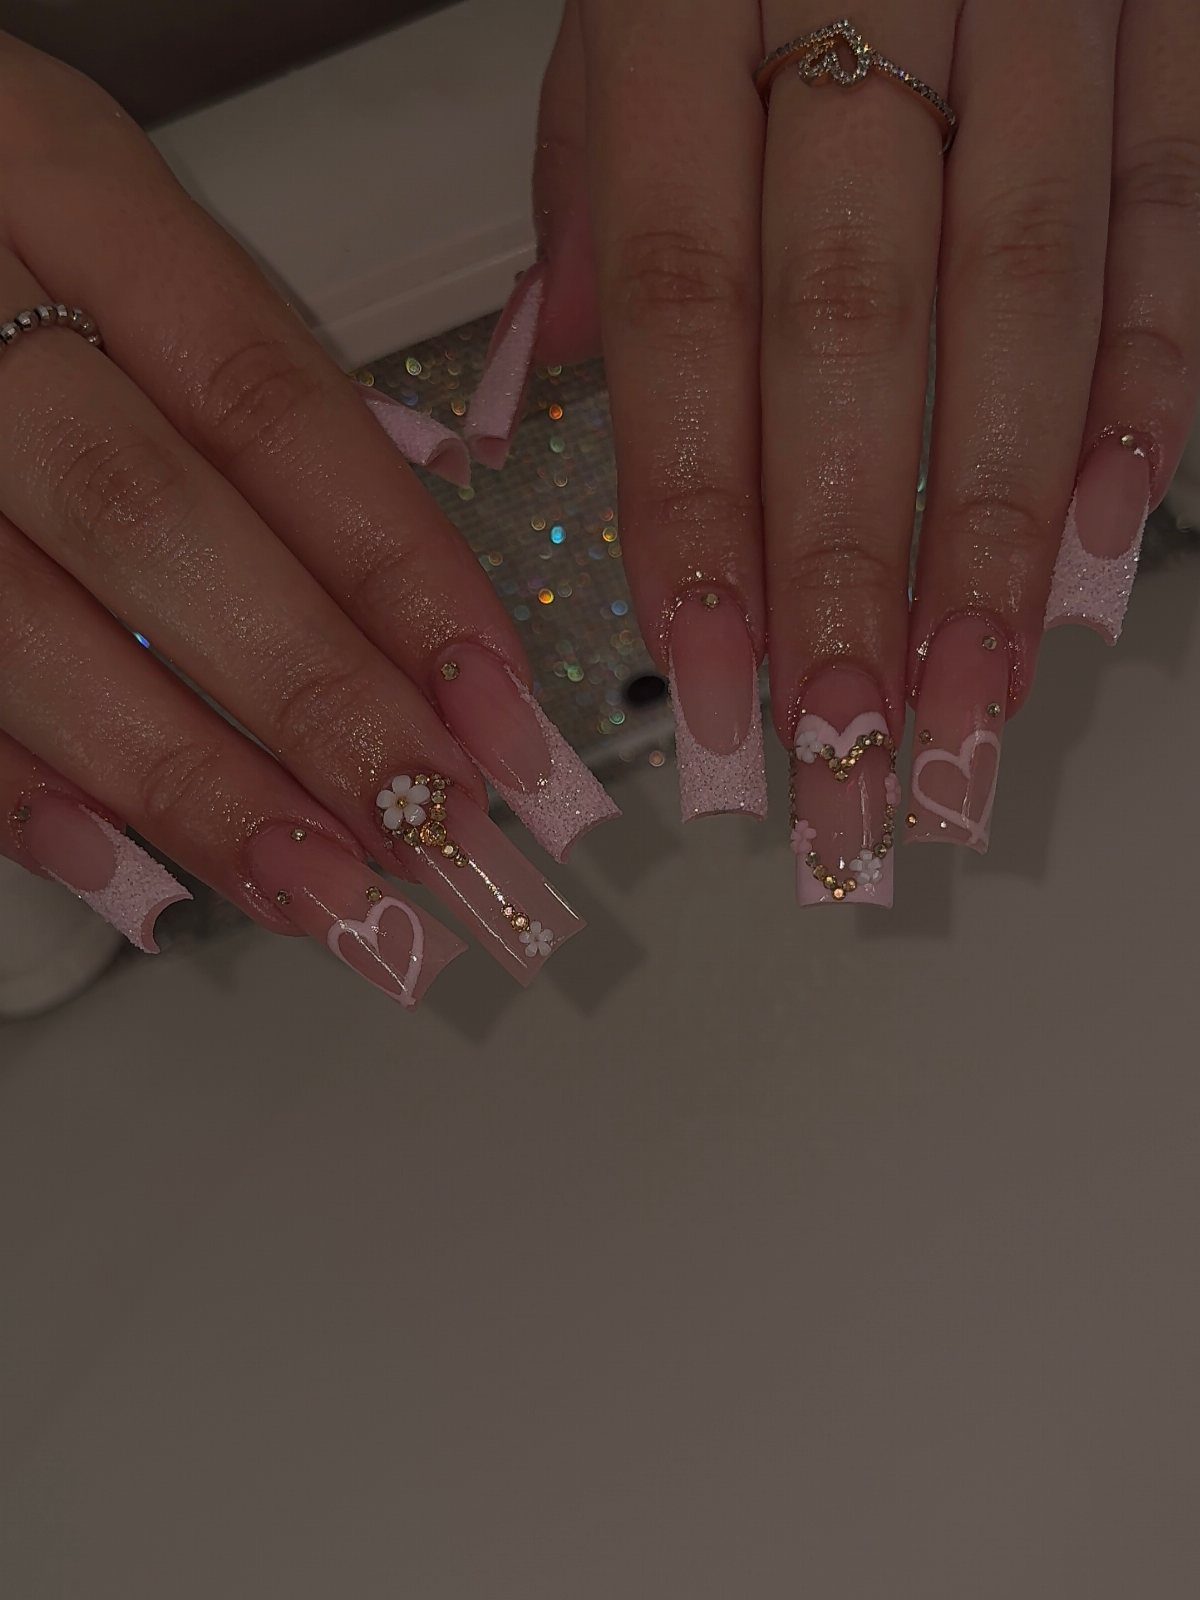
Pink French tips with tiny flowers and white heart outlines make a long square set feel spring-like while still reading as Valentine’s Day.
Outline hearts are easier than filled ones: use a thin liner brush and white polish, and skip perfect symmetry.
For the flowers, a ring of white dots around one center dot, made with a dotting tool, is enough, and a pinch of fine glitter over the tip adds shimmer without more steps.
I’d put flowers on 2 nails and hearts on 2 more.
9. Pink Gradient and Rhinestone Hearts
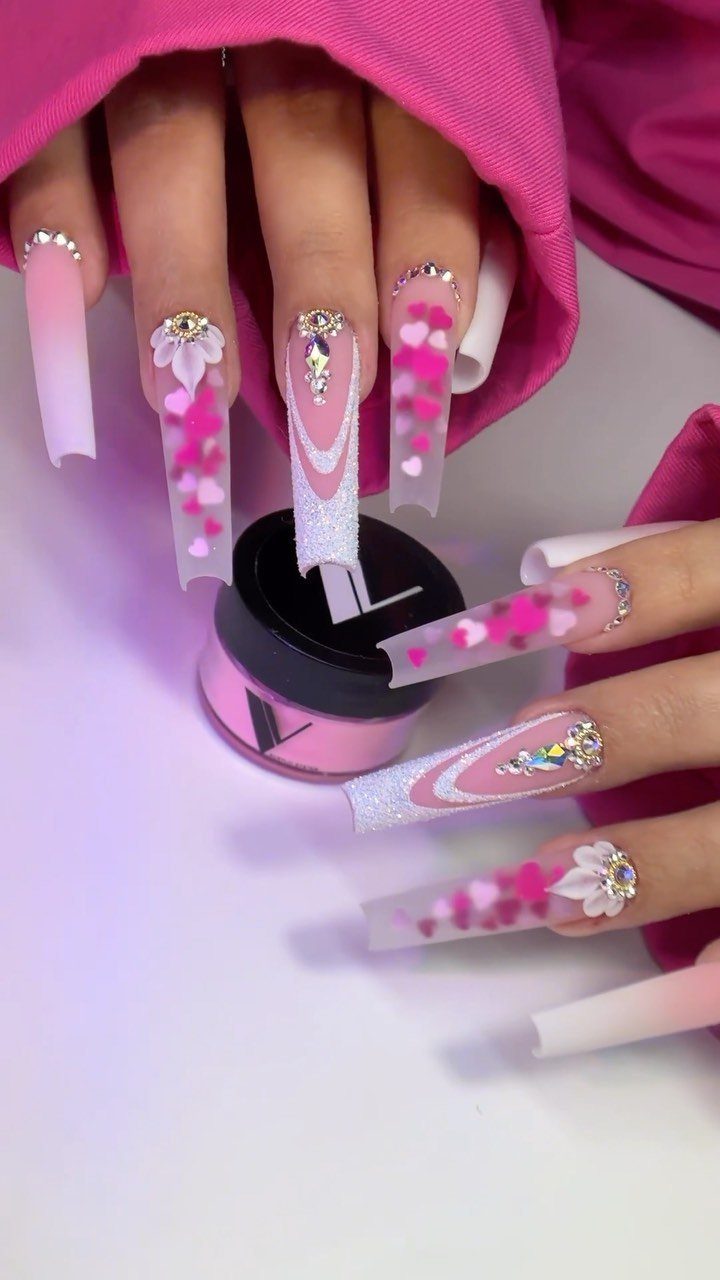
A soft pink-to-white gradient gives hearts and rhinestones a quiet backdrop, so the set looks finished even with only a few embellishments.
Dab pink and white polish onto a makeup sponge, press it onto the nail, and repeat for a blended fade.
Wait until it dries, then add hearts with a dotting tool and set the rhinestones in a drop of top coat.
Sponging is messy, so I’d wrap the skin around each nail in tape or liquid latex first. On long square nails, keep stones near the cuticle, away from the free edge.
10. Swirling Hearts and Tiny Gems
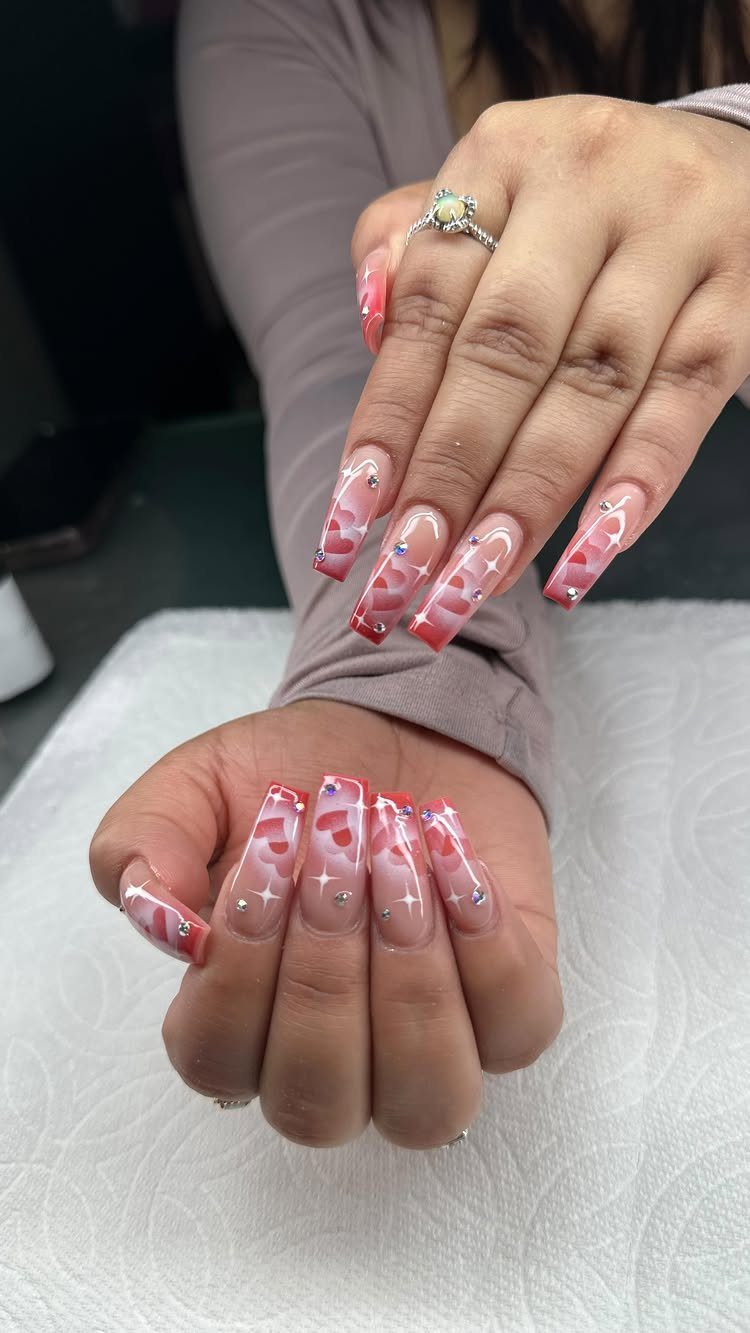
Red and white hearts joined by loose swirls look lively on square nails, and small rhinestones add sparkle to the red.
Swirls forgive shaky hands, which is why I like them for beginners.
Paint a white base, drag a thin liner brush loaded with red into curved lines, and let 2 curves meet to form a heart. Wipe the brush often so the lines stay crisp.
Place the gems last, in wet top coat, on the nails with the fewest swirls. Then seal the whole nail again.
Nail Health Maintenance
Long square sets look great, but nails need rest between them. Skip wearing artificial nails back to back, and give your natural nails a stretch bare so they can recover.
Cuticle oil is the easiest daily habit. Rub a drop into each nail and the skin around it, especially at night, to head off dryness and cracking.
A nail strengthener is worth trying if your nails tend to break or feel brittle. Apply it during your bare-nail break, when the nails need it most.
Food counts too. A balanced diet with plenty of vitamins and minerals supports stronger nails from the inside.
The best manicure is the one you love that also leaves your nails in good shape.